Quantization is a production technique that corrects imperfect timing. Iron out mistakes and instantly make your ideas flawless by utilising the quantize feature found in all popular DAWs. Live allows for the quantization of both MIDI and Audio clips. Correct performance mistakes or timing mishaps and record without hesitation.
Hi, I’m Ben from Live Aspects and in this guide, I’ll show you how to perfect elements of your Live project using quantization.
- | How Does Quantizing Work?
- | How To Quantize MIDI
- | How To Quantize Audio
- | How To Quantize Velocity
- | Realistic-Feel Quantization
- | Swing Quantization
Without further ado, let’s get started!
| How Does Quantizing Work?
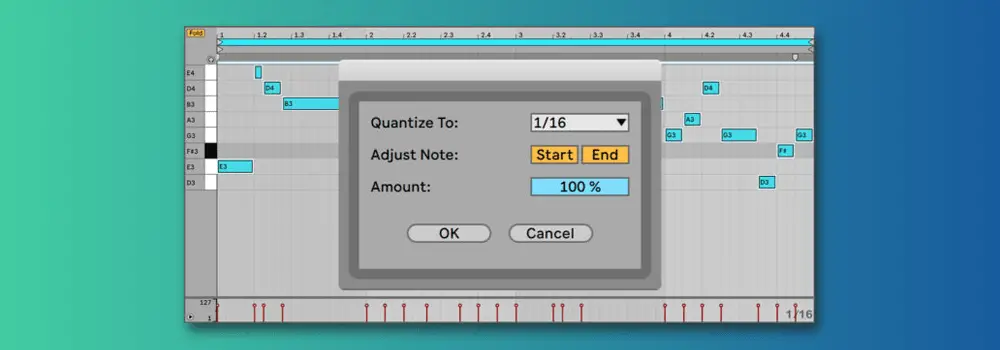
Quantizing works by detecting the transients in a piece of audio then moving them in line with the ‘grid’ or more simply, in perfect time. For MIDI, Ableton simply identifies the beginning and end of each MIDI note.
Whenever a piece of audio is imported into Ableton (and warp mode is selected), it’s transients are immediately detected. Notice each of the small grey arrows above each drum hit in the audio sample below. Live has placed markers at each transient in preparation for quantization.

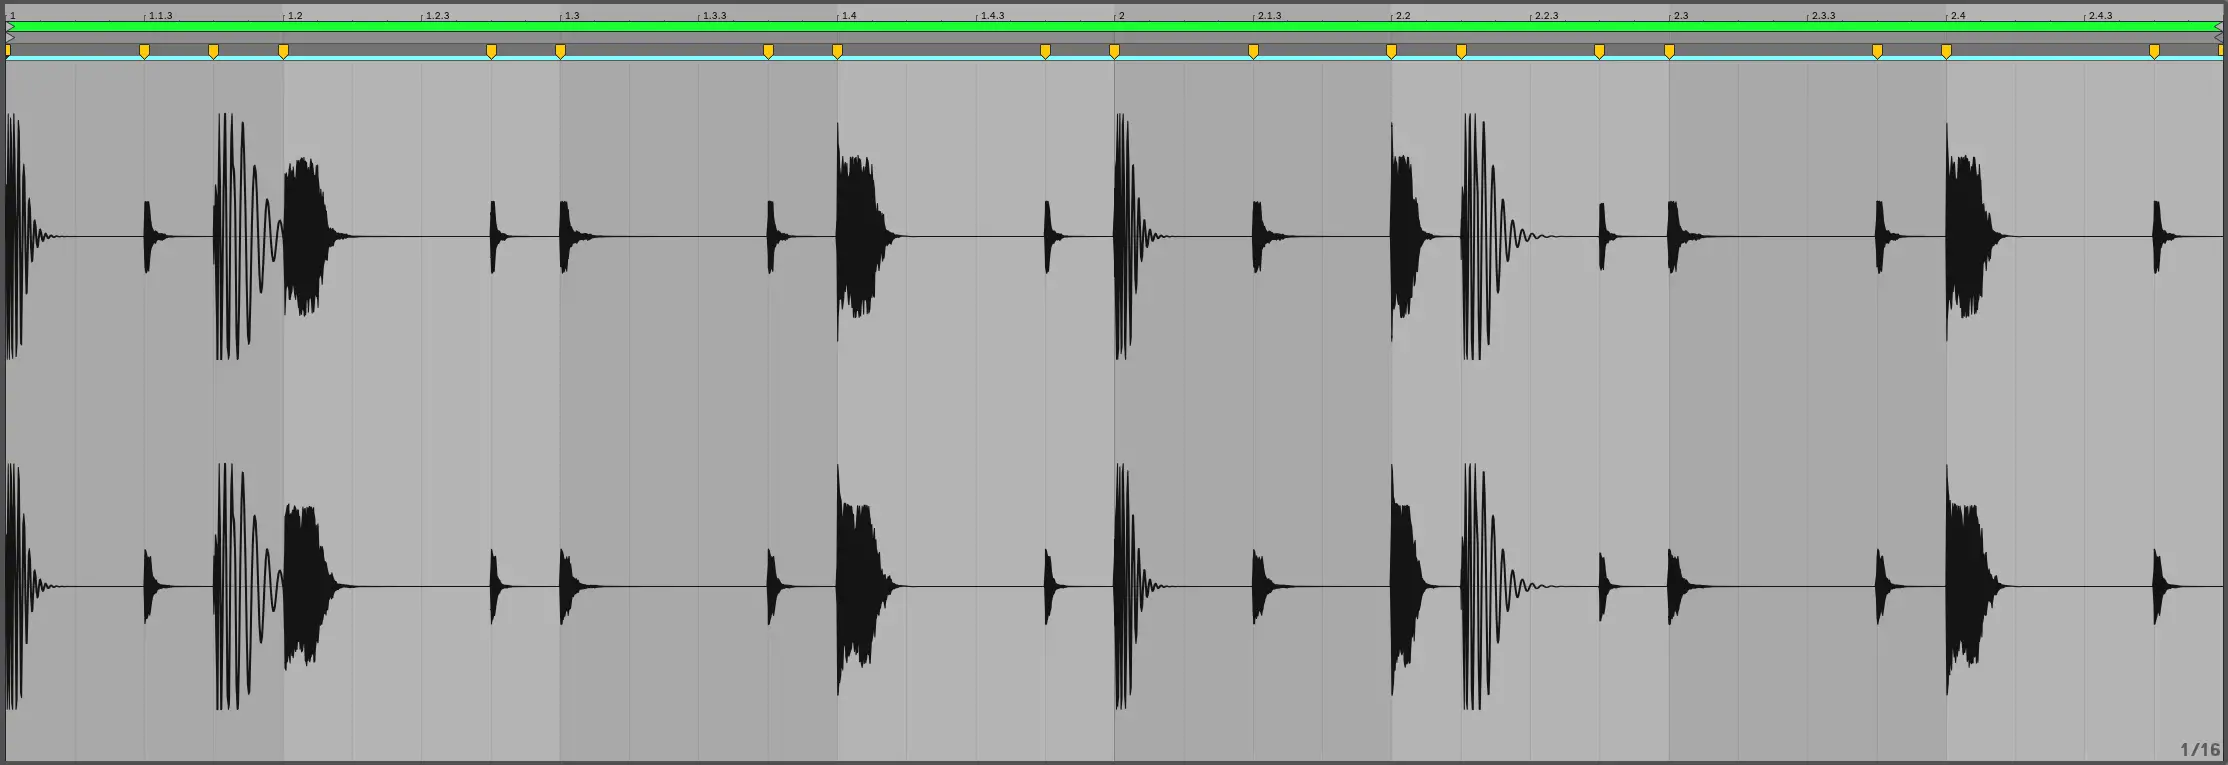
Once quantization has been activated, Live instantly snaps the transients to the chosen grid. Quantized transient markers become yellow as seen below:

Transient markers can be custom input or deleted if Live has incorrectly identified them. Simply double-click the dark grey region above the waveform to create a marker or to delete a marker, right‑click it and choose ‘Delete Transient(s)’. You can also drag out a selection across the waveform and press ‘Backspace/Delete’ to remove multiple markers at once.
| How To Quantize MIDI
Step 1: Select MIDI Clip
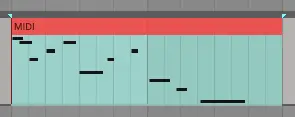
Double-click on the top half of the MIDI Clip you want to quantize. This will open up the piano roll and you will be able to see the notes of that MIDI clip.
Step 2: Select MIDI Notes
Next, select the MIDI notes that you wish to quantize. Press [COMMAND + A] on Mac or [CNTRL + A] on Windows to select all notes within a MIDI clip.

Step 3: Quantize
Access the Quantize settings by pressing [SHIFT + COMMAND + U] on Mac or [SHIFT + CNTRL + U] on Windows or right-clicking on the piano roll and selecting ‘Quantize Settings’. You can also instantly quantize using the previously used settings by pressing [COMMAND + U] on Mac or [CNTRL + U] on Windows.
Finally, ensure ‘Start’ is selected. Choose ‘End’ if you would like to quantize the end of each selected note. Select the grid you wish to quantize to as well as the amount of quantization then hit ‘OK.’
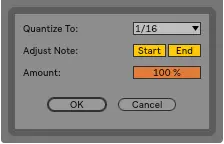
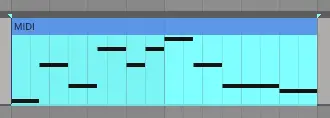
Below is an example of a MIDI clip that has been quantized using the settings displayed above:

| How To Quantize Audio
Step 1: Select Audio Clip
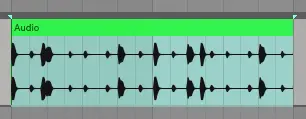
Double-click on the top half of the audio clip you would like to quantize. This will reveal the waveform of the audio clip.
Step 2: Select Region
Next, select the region of the audio sample that you want to quantize by clicking and dragging on the top half of the waveform. Press [COMMAND + A] on Mac or [CNTRL + A] on Windows to select the entire audio clip. Ensure the ‘Warp’ function is turned on.
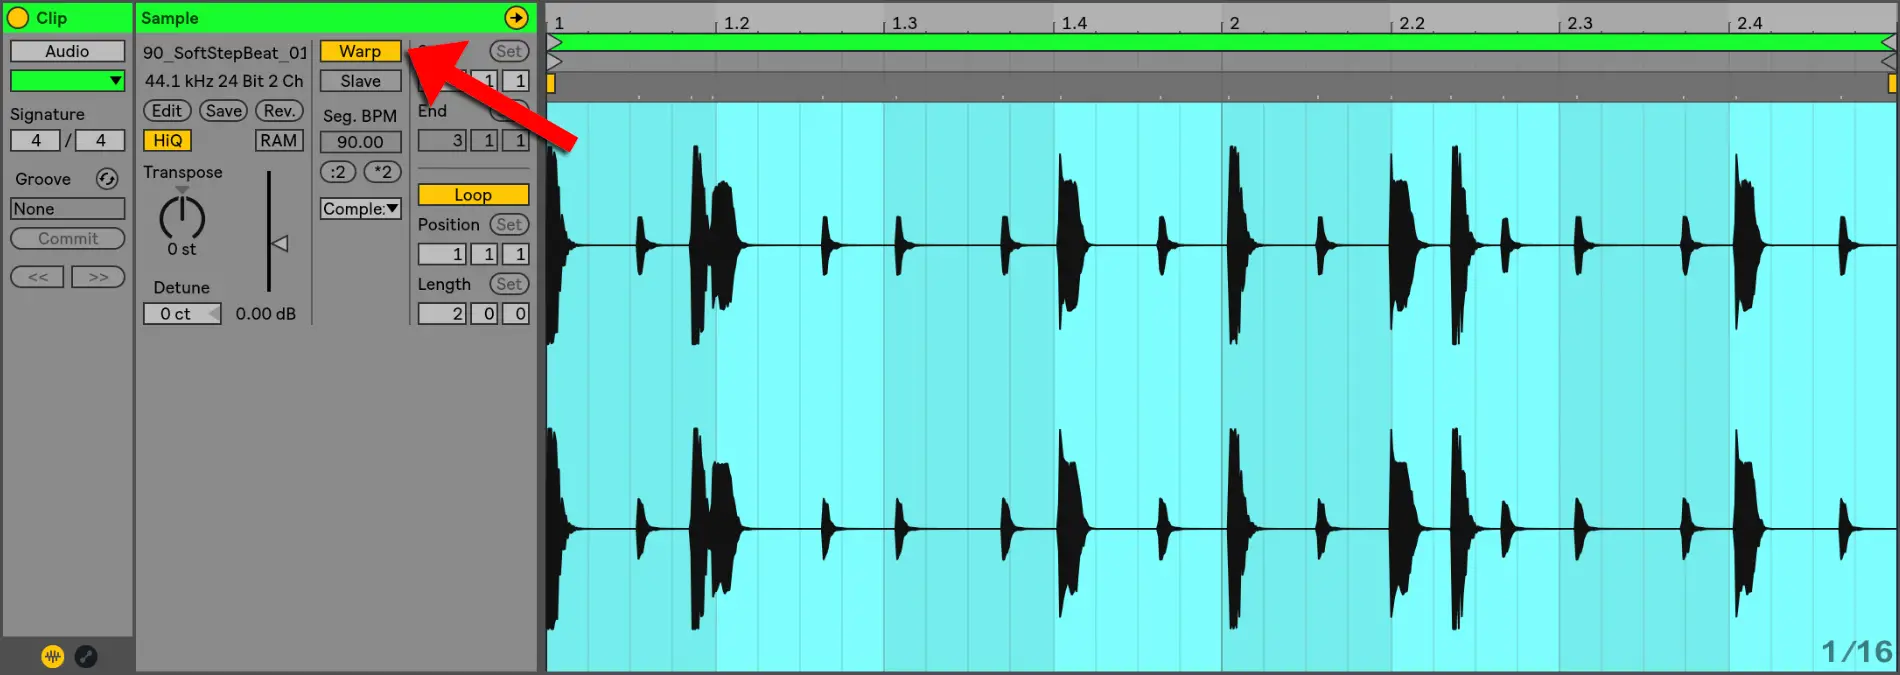
Step 3: Quantize
Access the Quantize settings by pressing [SHIFT + COMMAND + U] on Mac or [SHIFT + CNTRL + U] on Windows or right-clicking on the piano roll and selecting ‘Quantize Settings’. You can also instantly quantize using the previously used settings by pressing [COMMAND + U] on Mac or [CNTRL + U] on Windows.
Select the grid you wish to quantize to as well as the amount of quantization then hit ‘OK.’
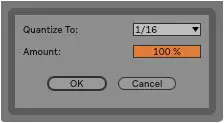
Below is an example of an audio clip that has been quantized using the settings displayed above:
| How To Quantize Velocity
Step 1: Select MIDI Clip
Double-click on the top half of the MIDI Clip you want to adjust velocity for. This will reveal the piano roll and you will be able to see the notes of that MIDI clip.
Step 2: Select MIDI Notes
Next, select the MIDI notes for which you want to quantize velocity. Press [COMMAND + A] on Mac or [CNTRL + A] on Windows to select all notes within a MIDI clip.

Step 3: Adjust Velocity
The velocity of each note is located at the bottom of the piano roll with each value represented vertically. Click on the velocity of any selected note then drag it all the way up or down. All velocity values have now been reset and will adjust concurrently. Increase or decrease the velocity to the desired amount.

| Realistic-Feel Quantization
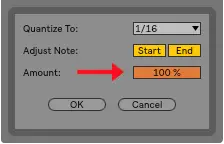
Reducing the ‘Amount’ parameter on the quantize menu improves the timing of notes while maintaining the human-like characteristics of a live recording. The ‘Amount’ percentage determines how much notes are dragged to the desired grid.
When set to 100%, notes will be moved exactly to the grid, achieving perfect quantization. Quantizing at an amount below 100% helps tighten the timing of notes while also keeping the natural imperfections of a human performance. An amount of 50% will move the notes half-way between their starting position and the grid.
| Swing Quantization
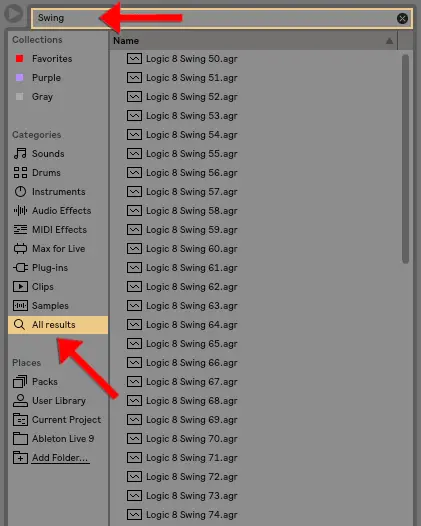
Ableton makes it possible to achieve swing quantization through the use of Grooves, which appear as .agr files in the browser. A groove clip stores a unique set of timing and velocity values. These files can be applied to both MIDI and audio to achieve swing. Ableton’s library of grooves contains every possible variation of swing, anywhere from gentle to extreme swing.
If you’d like to know how to apply Swing Quantization in Ableton, visit our previous guide titled ‘How To Use Swing In Ableton‘.
Want To Know More?
Here at Live Aspects, we have dozens of useful lessons and tutorials created to enhance your music production skills and help speed up the learning process. You can access our huge range of music theory lessons and production tips and tricks here.