Ableton Live’s Glue Compressor is a powerful compression plugin used to add cohesion and punch to audio. With its simple interface and powerful features, Glue Compressor has become a staple in the arsenal of many Ableton Live users. Whether you’re working on EDM, hip-hop, or acoustic music, Glue Compressor can help you achieve a professional and polished sound, no matter what genre you create.
In this guide, we’ll take an in-depth look at Glue Compressor, exploring its features and functionality, how it works, and how you can use it effectively in your productions.
Without further ado, let’s get started!
What Is Glue Compressor?
Glue Compressor is a stock compression plugin that comes with Ableton Live. The plugin is designed to help add cohesion and character to your mix, while also controlling the dynamics of your audio or MIDI tracks. The plugin is based on the classic SSL bus compressor–a hardware compressor that has been used for decades in professional studios.
Glue Compressor is a popular tool for achieving that “glued together”, refined sound that is often associated with professional mixes. Thanks to the plugin’s built-in sidechain feature, users can also create the popular sidechain effect without relying on external plugins.
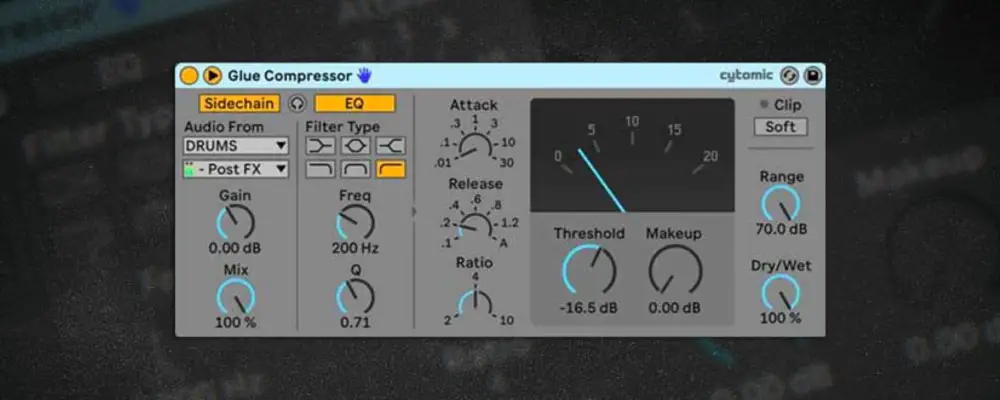
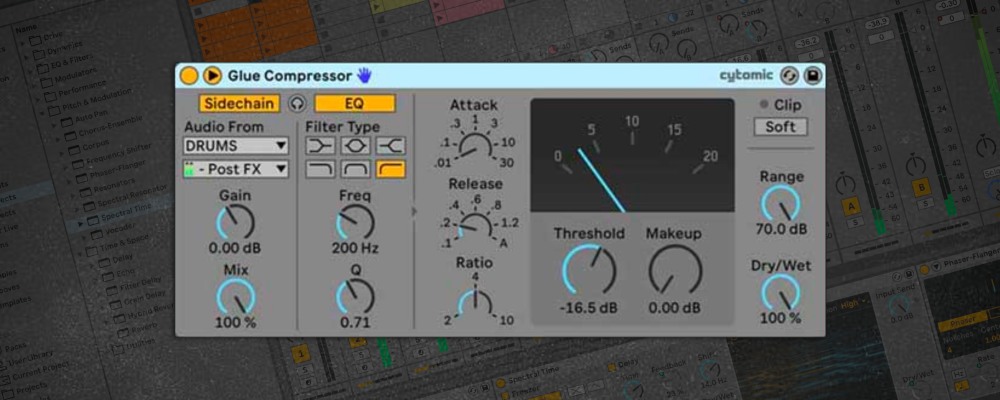
Glue Compressor Overview
Glue Compressor’s interface is user-friendly and intuitive, with controls that are easy to understand and use. The plugin features a number of parameters that can be used to shape the compression. These include:
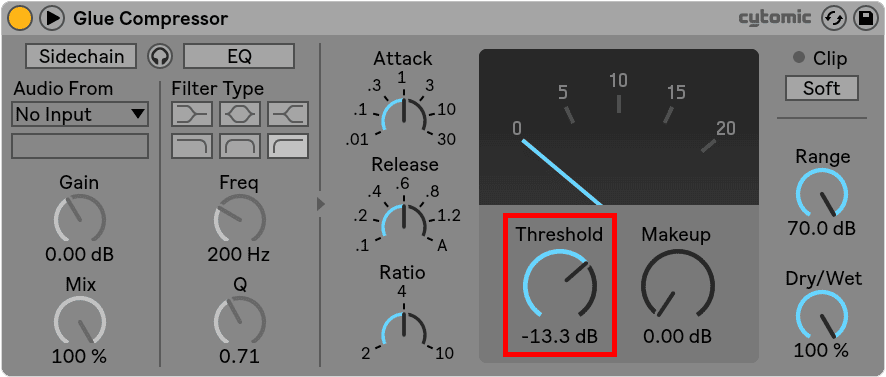
Threshold
The threshold controls the point at which the compressor kicks in. When the signal exceeds the threshold, the compressor reduces the level of the signal.

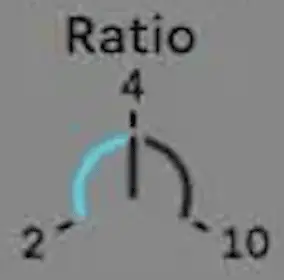
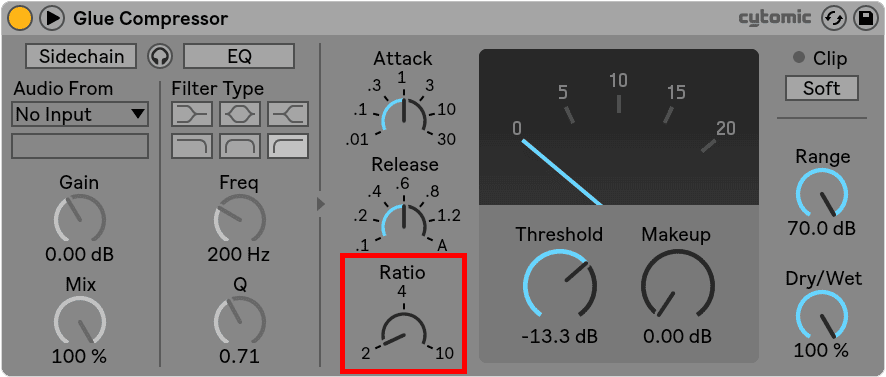
Ratio
The ratio control determines how much the compressor reduces the level of the audio signal when it exceeds the threshold. For example, a ratio of 2:1 means that for every 2dB the signal exceeds the threshold, the compressor will reduce it by 1dB. Higher ratios result in more compression.
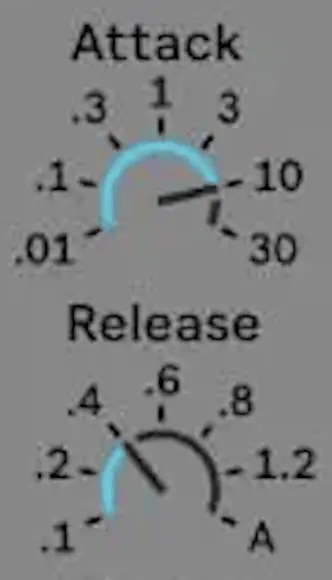
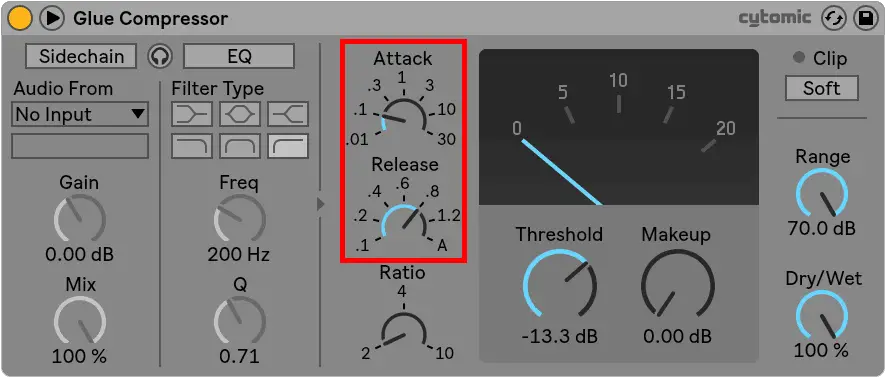
Attack & Release
The attack and release controls determine how quickly the compressor reacts to changes in the signal. A shorter attack time will result in a more aggressive compression, while a longer attack time will result in a more natural sound. The release time controls how quickly the plugin stops compressing the signal after it falls below the threshold.
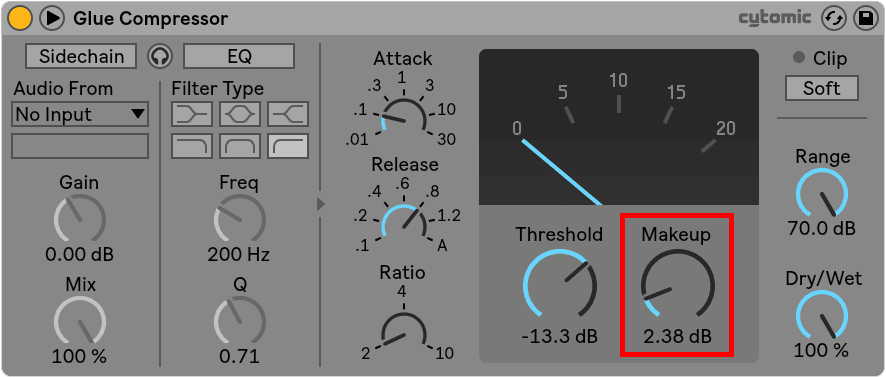
Makeup Gain
The makeup gain control is used to compensate for the level reduction caused by the compressor. This control allows you to increase the overall level of the audio signal after it has been compressed, so that it matches the level of the uncompressed signal.

Dry/Wet Blend
The dry/wet blend control allows you to mix the compressed signal with the original, uncompressed signal. This can be useful for adding some subtle compression to a track without completely squashing the dynamics.

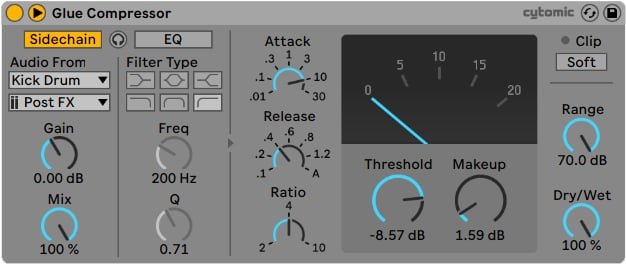
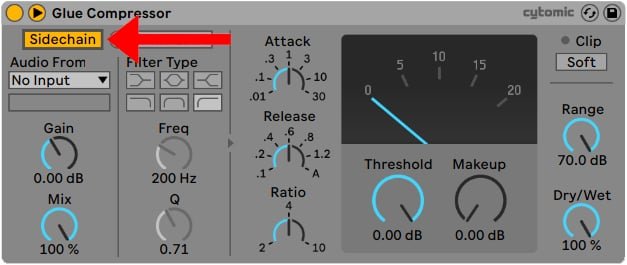
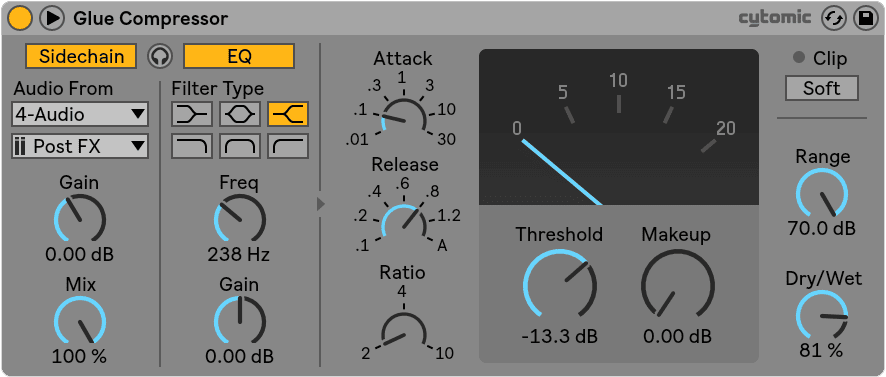
Sidechain
Glue Compressor’s sidechain feature allows the amplitude of one audio signal to control the level of another signal. Essentially, the level of the main signal is reduced whenever the sidechain signal exceeds a certain threshold. This effect is commonly used to create a pumping or breathing effect in electronic dance music.
If you would like to learn how to sidechain using Glue Compressor, visit our previous guide titled “How The Pros Sidechain In Ableton Live”.
How To Use Glue Compressor
Here’s a step-by-step guide on how to use Ableton Live’s Glue Compressor to compress audio or MIDI:
Step 1: Load The Plugin
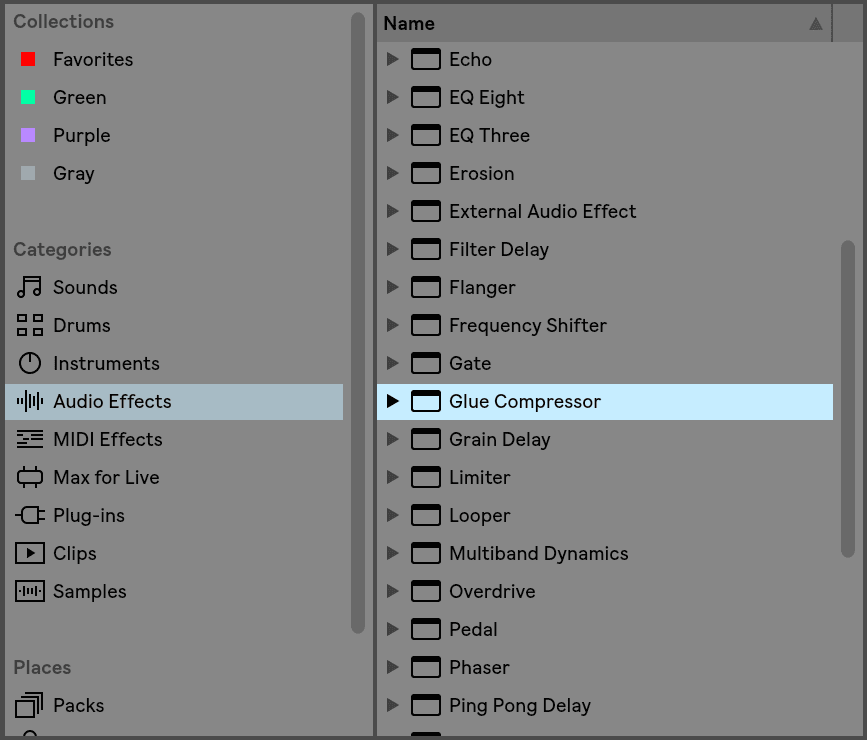
Load the Glue Compressor plugin onto the audio/MIDI track you wish to compress. To do this, head to the “Audio Effects” section of Live’s browser, then drag and drop the Glue Compressor from the list of audio effects onto the track or double-click it.
Step 2: Set The Threshold
The threshold determines at what level the compression begins to take effect. For example, if you set the threshold to -20 dB, the compressor will only start to compress audio that exceeds this level. You can adjust the threshold by turning the threshold knob.
Step 3: Adjust The Ratio
The ratio determines the amount of gain reduction applied to the audio signal once it exceeds the threshold. The higher the ratio, the more the audio will be compressed. You can adjust the ratio by turning the ratio knob.
Step 4: Set The Attack & Release Times
The attack and release times control the speed at which the compressor responds to changes in the audio signal. The attack time determines how quickly the compressor starts compressing the audio once it exceeds the threshold, while the release time determines how quickly the compressor stops compressing the audio once it falls below the threshold. You can adjust the attack and release times by turning the corresponding knobs.
Step 5: Adjust The Makeup Gain
Compression can cause the overall volume level to decrease, so it’s important to compensate for this by adjusting the makeup gain. You can adjust the makeup gain by turning the makeup gain knob.
Step 6: Adjust As Needed
As you adjust the settings, it’s important to listen to the audio to hear how the compression is affecting the sound. You may need to make additional adjustments to the plugin’s parameters to achieve the desired result.
Glue Compressor Tips & Tricks
Glue Compressor can be utilized in numerous ways, ranging from delicate compression and sidechaining to intense squashing. Below are some useful tips and tricks to help you effectively utilize the Glue Compressor in your tracks:
Adding Punch
Glue Compressor can be used to add punch to a recording. This involves using a fast attack time to accentuate the transients (the initial peak of the sound) and make them sound more pronounced. This technique is commonly used on drums to make them sound more powerful and punchy.
Taming Peaks
Live’s Glue Compressor plugin can be used to tame peaks that occur when an instrument or vocalist sings or plays an unusually loud note. By reducing the gain on these peaks, they can be brought down to a more manageable level, preventing distortion or other unwanted effects.
Reducing The Dynamic Range
Compression can help to reduce the dynamic range of a recording, making the louder parts quieter and the quieter parts louder. This can help bring out the nuances and details of a performance, while also allowing the recording to sit more comfortably within the overall mix.

Conclusion
Glue Compressor is a powerful tool for adding warmth and punch to your tracks. Whether you’re using it on individual tracks, groups, or the master channel, Glue Compressor can help to create a cohesive and polished sound. With its intuitive controls and flexible functionality, it’s no wonder that Glue Compressor has become a staple in the toolkits of many Ableton Live users.
Related Posts:
How To Sidechain In Ableton Live
Ableton Live 101 | The Complete Beginner’s Guide
30 Ableton Live Keyboard Shortcuts You Need To Know
Want To Know More?
Here at Live Aspects, we have dozens of useful lessons and tutorials created to enhance your music production skills and help speed up the learning process. You can access our huge range of music theory lessons and production tips and tricks here.