Looking to start your own podcast? With more than 144 million active podcast listeners in the United States alone, there’s never been a better time to join the growing list of podcasters. Share your voice with the world using Ableton Live.
Hi, I’m Ben from Live Aspects and today we’ll be learning how to record a podcast using Ableton Live in just 5 SIMPLE STEPS:
- | Setup Microphone(s)
- | Start Recording
- | Edit & Cut Recording
- | Apply FX
- | Export & Upload
Without further ado, let’s get started!

| Step 1: Setup Microphone(s)
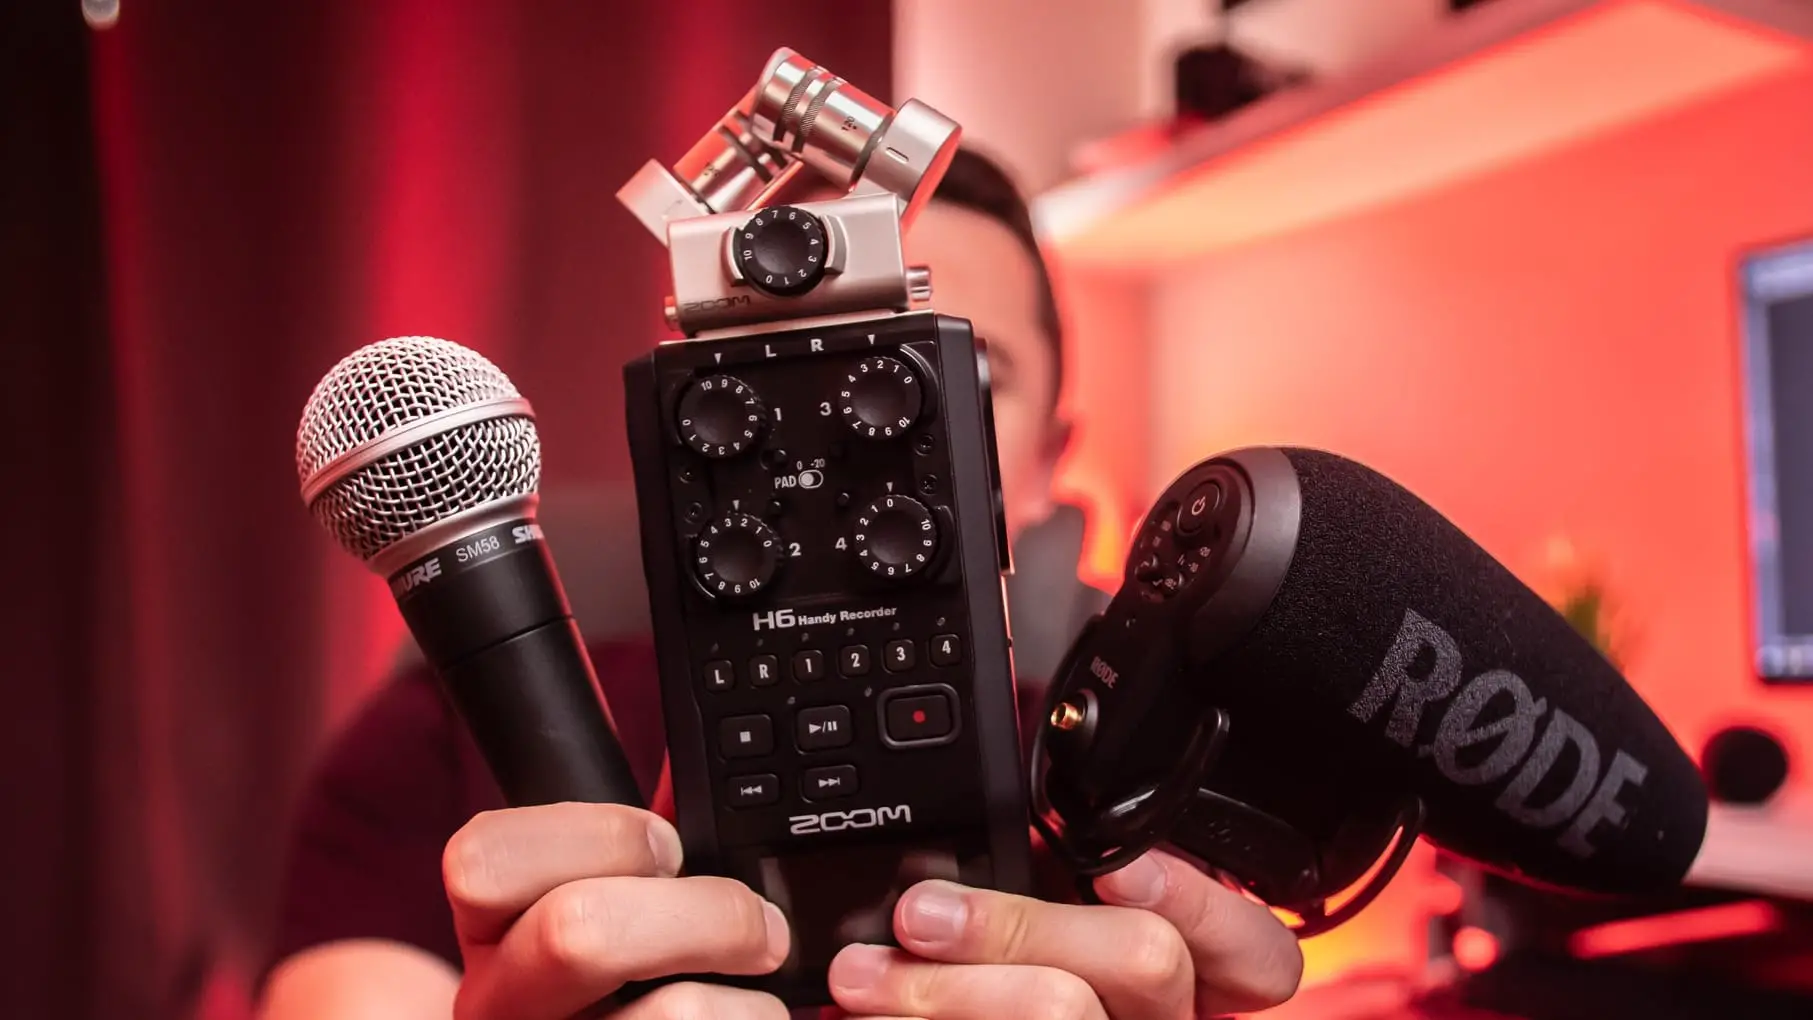
Start by setting up any microphones you wish to use. Whether you’re using a USB microphone or an audio interface, Ableton is capable of recording audio using almost any microphone available. Make sure that any necessary drivers are installed that may accompany your USB microphone or audio interface. For the best sounding results, try using a microphone for each person participating in your podcast.
(If you are using a Focusrite interface, click here to learn how to set it up and use it with Ableton Live.)
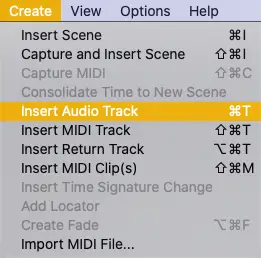
Next, head into Ableton Live. Create an audio track for each microphone you have setup. You can do this by accessing the ‘Create‘ menu and selecting ‘Insert Audio Track‘. Alternatively, you can press [COMMAND + T] on Mac or [CNTRL + T] on Windows. If you plan on incorporating any pre-recorded material such as music or an introduction, simply place it onto an additional audio track.
Open Live’s preferences and select the ‘Audio‘ tab. Make sure that the ‘Audio Input Device‘ is set to your microphone or the audio interface connecting your microphone(s) to your computer. Lastly, ensure that the correct microphone input is selected from the numbered drop-down box on each audio track.
An audio track will start metering if a microphone has been set up correctly.
(If you have headphones set up as your main output and would like to hear your own voice while you record, select the ‘In‘ button on the Monitor section of an audio track.)

| Step 2: Start Recording
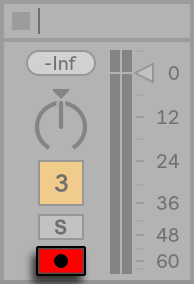
Firstly, we’re going to arm recording on each audio track. This means that an audio track is ready to record audio when the project’s recording function is enabled. Simply navigate to an audio track and select the arm recording button near the track number and solo button. To arm recording on multiple audio tracks, simply hold [COMMAND] on Mac or [CNTRL] on Windows and click each arm recording button.
When you’re ready to begin recording, head to the top of the Live window and select the black record button. The record button will turn red when recording is in progress. To conclude recording, press the stop button adjacent to the record button or hit ‘Spacebar‘ on your keyboard.

| Step 3: Edit & Cut Recording
In this step, we’re going to cut out any unwanted sections of the podcast. This could include misspoken sentences, pauses in the recording, unpleasant errors or simply sections you want to remove.
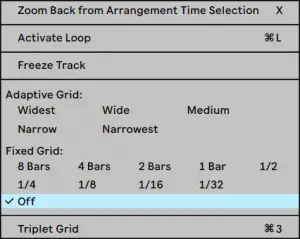
Start by right-clicking anywhere on the grey area in arrangement view, then under ‘Fixed Grid‘, select ‘Off‘. This will make it possible to make precise cuts that aren’t fixed to the grid.
Left-click and drag your cursor to select a region of the recording you wish to remove.

Next, press ‘Delete‘ on your keyboard.

Connect the split audio recording together to complete the seamless edit.

| Step 4: Apply FX
While it isn’t always necessary, this step may help you achieve the best sounding podcast possible. By using a variety of plugins and effects, you can increase the professionalism of your new podcast. Generally, a podcast is quite simple to process and using a good quality microphone can help you bypass any additional processing.
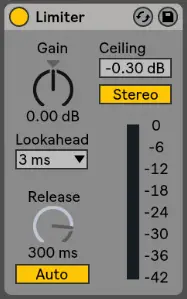
Limiter
If the volume of your podcast is generally quite low, consider using Live’s Limiter. Limiting turns up the quiet parts of your podcast while maintaining the volume of the loud sections. Simply increasing the volume of your podcast can cause it to peak and create unwanted distortion.
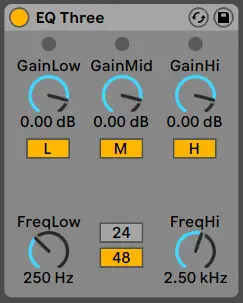
EQ
EQ is used to remove or reduce unwanted frequencies. If your podcast is sounding too bright or too dull, adjust the high frequencies on any of Live’s EQ plugins. Reduce the low frequencies of a recording that sounds too bass-heavy. Make your voice more comfortable to listen to by increasing or reducing certain frequencies of your podcast.
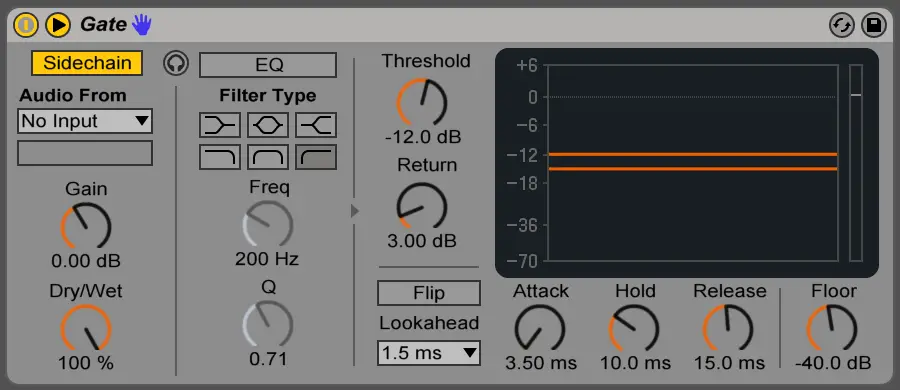
Gate
A Gate is an audio processor that is used to quieten or remove any audio input below a determined volume amount. It can be used to remove background noise or any quiet sounds like breathing. Live comes with a completely versatile Gate plugin, complete with sidechain functionality.
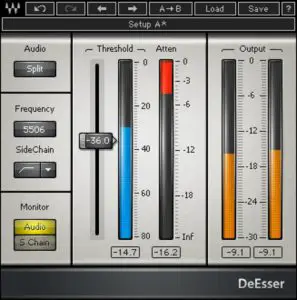
De-Esser
A De-esser is used to reduce sibilance, or harsh high-frequency sounds that occur when pronouncing the letter ‘S’. While Ableton does not come with a dedicated De-esser, there are a variety of free and paid additional plugins available online. If your podcast is causing disturbance when particular letters are pronounced, consider using a De-esser.
| Step 5: Export & Upload
Once you’re happy with how your podcast sounds, it’s time to export it!
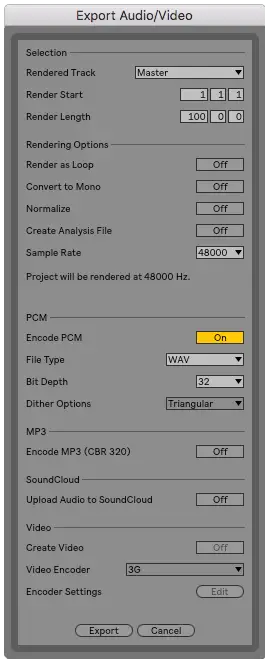
Head to the File menu and select ‘Export Audio‘ or press [COMMAND + Shift + R] on Mac or [CNTRL + Shift + R] on Windows.
Make sure that the Render Start and Render Length span across the duration of your podcast and that the Rendered Track is set to ‘Master‘.
Ensure that Render as Loop, Convert to Mono and Normalize are set to ‘Off‘.
Finally, select ‘Export‘.
Congratulations! Your podcast is ready to upload.
| Bonus Tip
If you would like to convert your podcast into an .mp3 file before uploading it, there are a variety of free online tools available. Make sure to visit our previous blog here to find out more on converting audio file types.
Want To Know More?
Here at Live Aspects, we have dozens of useful lessons and tutorials created to enhance your music production skills and help speed up the learning process. You can access our huge range of music theory lessons and production tips and tricks here.