Mastering is a critical aspect of the music production process. It is the final step that polishes your track, making it sound professional and ready for release. However, mastering can be a daunting task, especially for new producers, and getting it right can make the difference between a hit song and a flop.
From EQs to compressors, limiters, and maximizers, FL Studio has everything you need to give your track a polished finish. In this guide, we’ll be unveiling the best practices for utilizing stock plugins and FL Studio tools to master your tracks like a pro.
Without further ado, let’s get started!
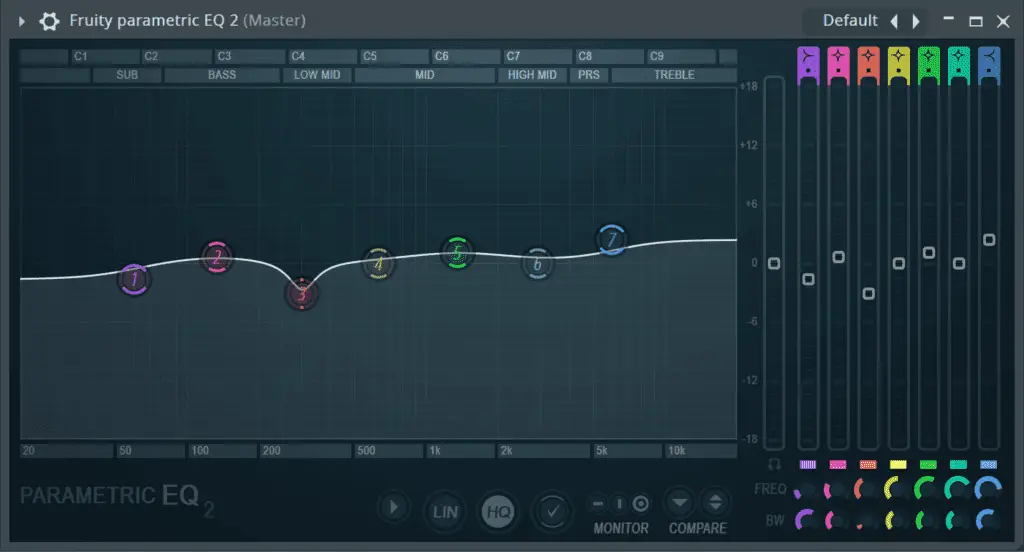
Tip #1: Use EQ To Balance Your Mix
EQ is an essential tool for mastering your tracks. It allows you to balance the frequencies in your track, making sure that each instrument has its own space in the mix. The first step in using EQ for mastering is to remove any unwanted frequencies. You can use FL Studio’s parametric EQ or parametric EQ 2 to adjust the levels of each frequency band. You should aim to create a balanced mix that is not too bass-dominated or treble-heavy.
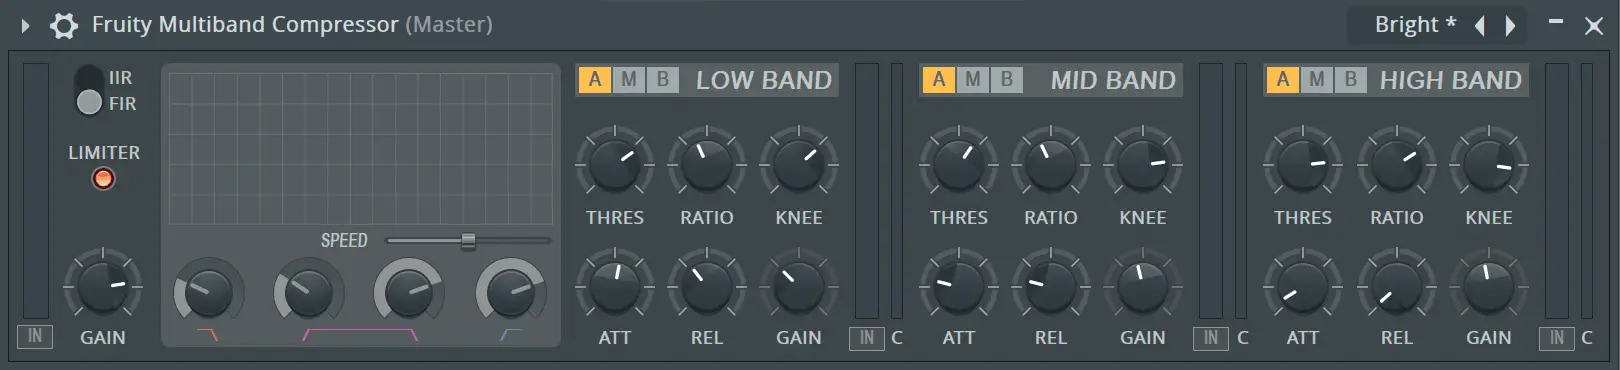
Tip #2: Use Compression To Control Dynamics
Compression is another essential part of the mastering process. It helps to control the dynamics of your mix, making sure that the volume of your track is consistent throughout. You can use FL Studio’s Compressor or Multiband Compressor to reduce the dynamic range of individual tracks or your entire project. This will make the quieter parts of your track louder and the louder parts quieter, resulting in a more consistent volume level.
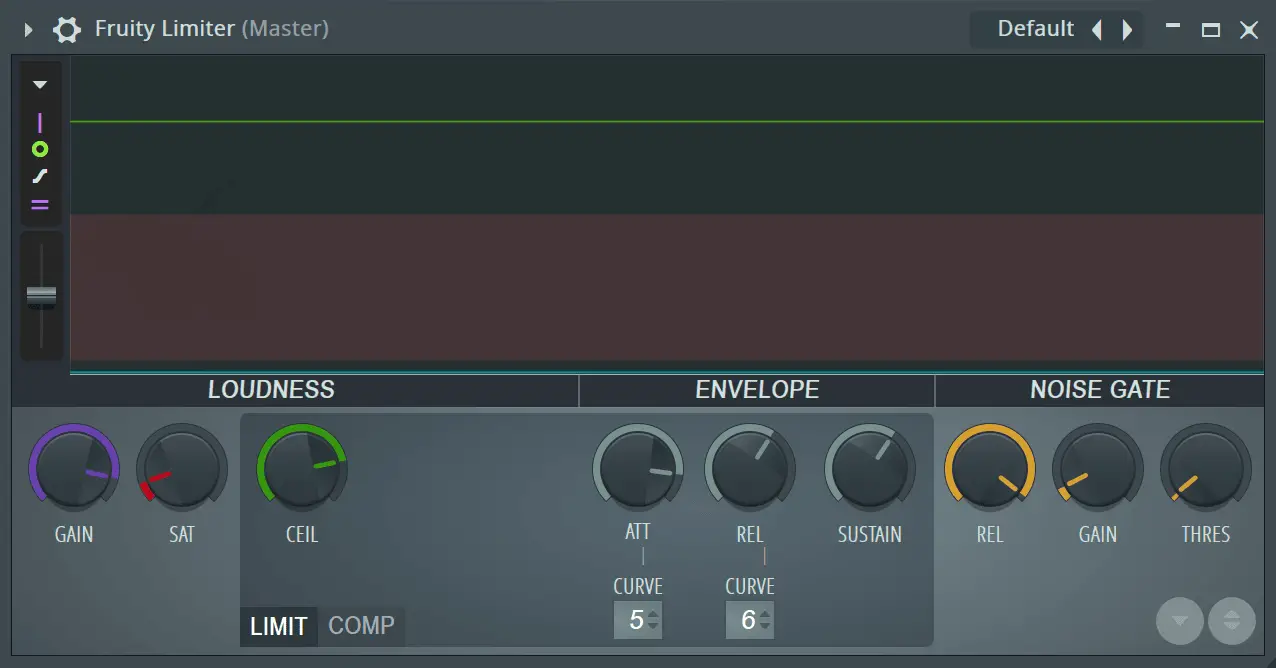
Tip #3: Use A Limiter To Prevent Clipping
Clipping is a common problem in music production. It occurs when the volume of your track exceeds 0dB, resulting in unpleasant distortion. A limiter is a type of compressor that limits the peak volume of your track so it doesn’t exceed a certain level. When using a limiter, set the threshold to just below 0dB to prevent clipping. Be careful not to overdo it, as too much limiting can make your track sound squashed. To avoid clipping, you can use FL Studio’s Fruity Limiter.
Tip #4: Use A Reference Track
A reference track is a professionally produced track that you can use to compare your own song to. This will help you to identify any areas where your mix might be lacking and make any necessary adjustments. Simply import a reference track into your FL Studio project and compare how it sounds to your song. It is recommended to select a track that is similar in style and genre to your own song for more accurate comparisons.

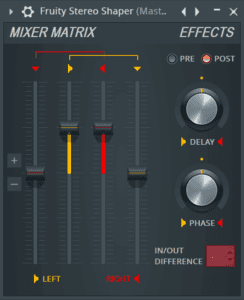
Tip #5: Use Stereo Imaging To Create Width & Depth
Stereo imaging refers to the manipulation of stereo width in a stereo mix to create a sense of space and depth. It involves adjusting the placement of individual elements within the stereo field, such as panning them left or right, to create a more interesting and immersive listening experience. You can use FL Studio’s Stereo Shaper to adjust the stereo width of your track.
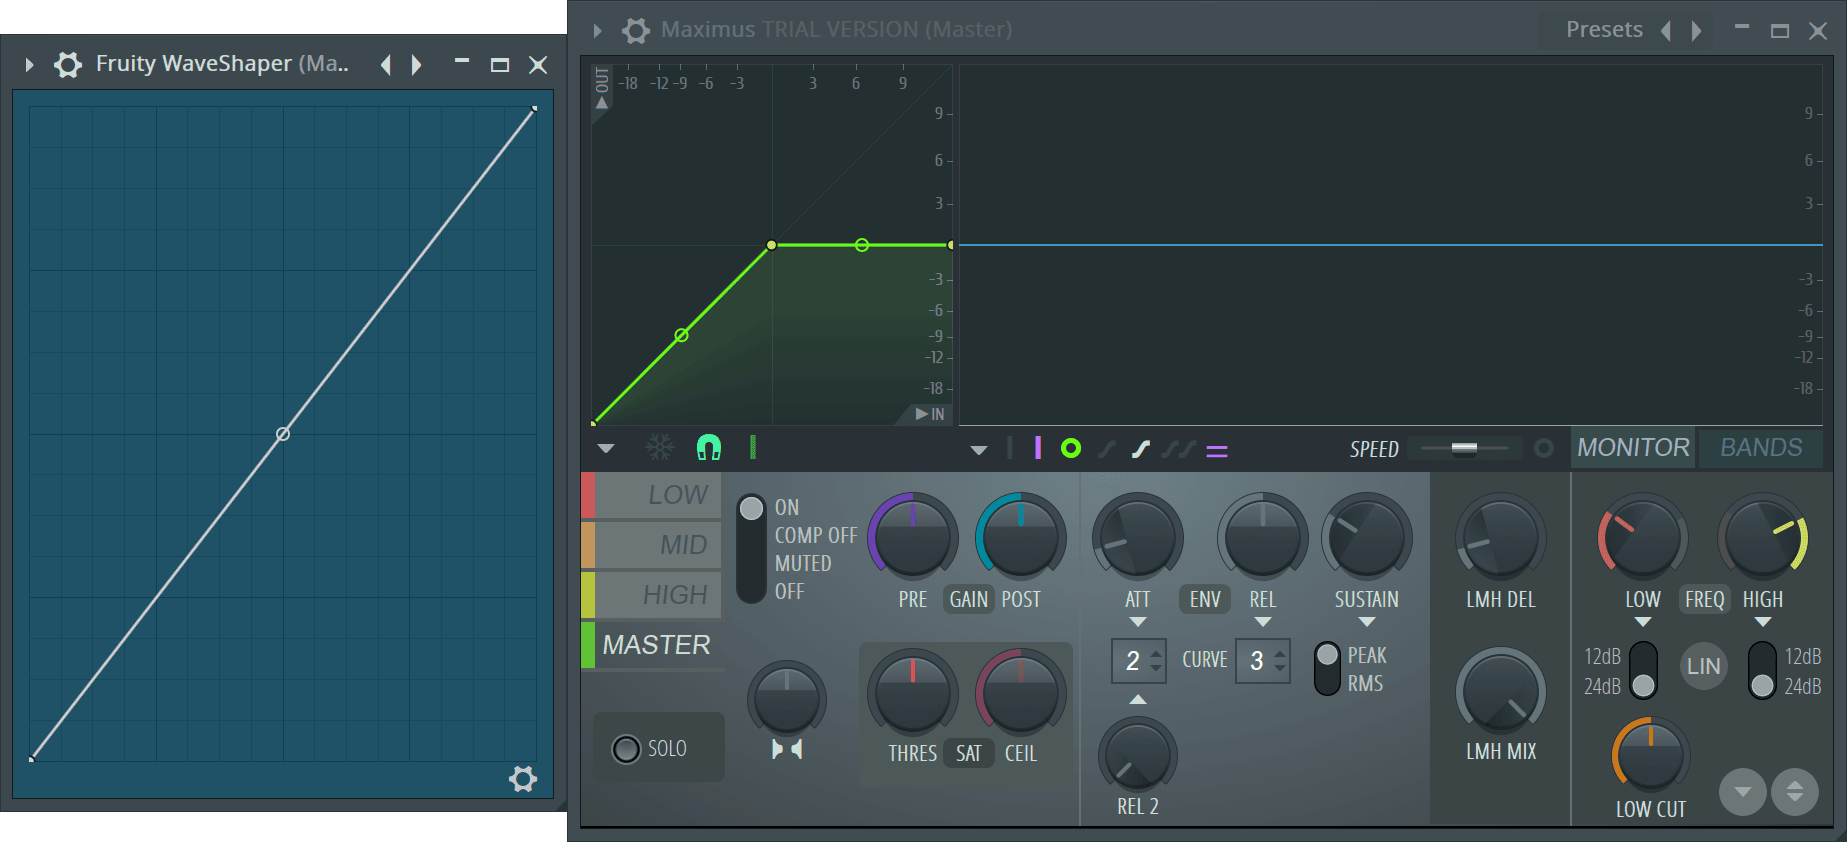
Tip #6: Use Saturation To Add Warmth
Saturation is a mastering tool that is commonly utilized to introduce depth and richness to a mix. Saturation involves the deliberate overdriving of an audio signal, which results in harmonic distortion that contributes warmth and personality to a sound. This effect of adding harmonics can result in a sound that is more full-bodied and present in a mix, which can help to make it stand out more effectively. You can use FL Studio’s Fruity Waveshaper or Maximus to add saturation.
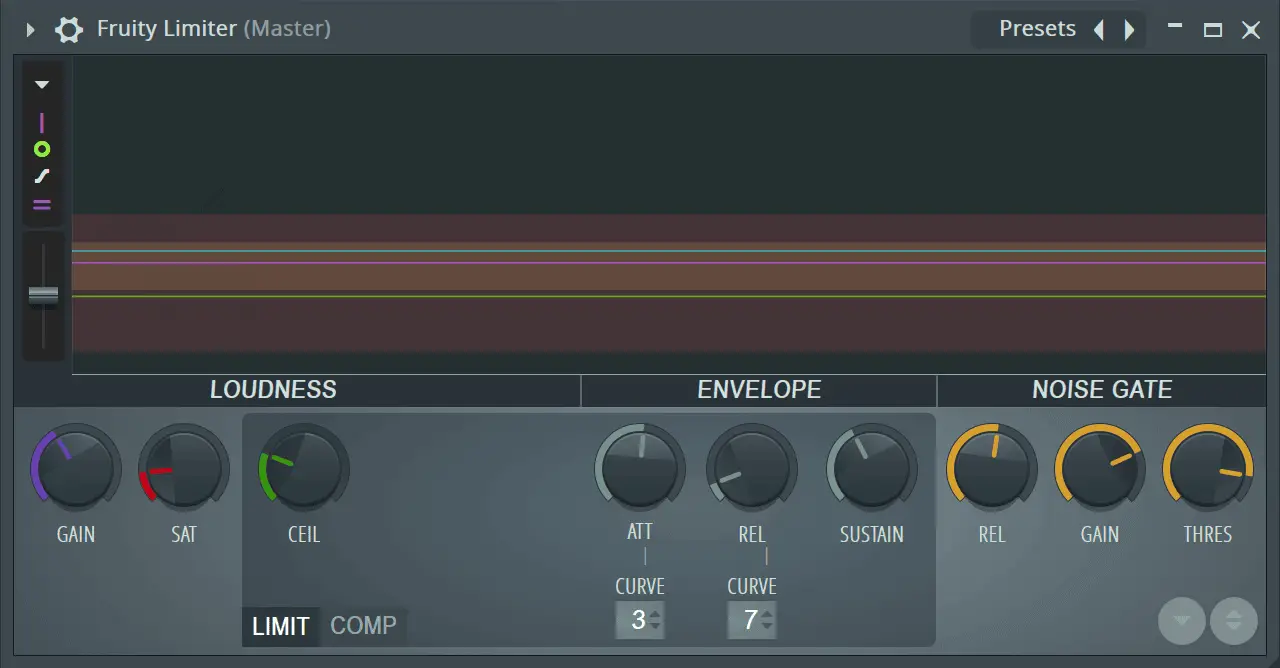
Tip #7: Use Limiting To Increase Loudness
Limiting is the process of reducing the dynamic range of your mix, which can increase its perceived loudness. You can use a limiter to boost the overall level of your mix without causing distortion or clipping. When using a limiter, aim for a loudness level that is appropriate for the genre of music you’re working on. Keep in mind that overusing a limiter can cause your mix to sound overly compressed, leading to a loss of clarity.
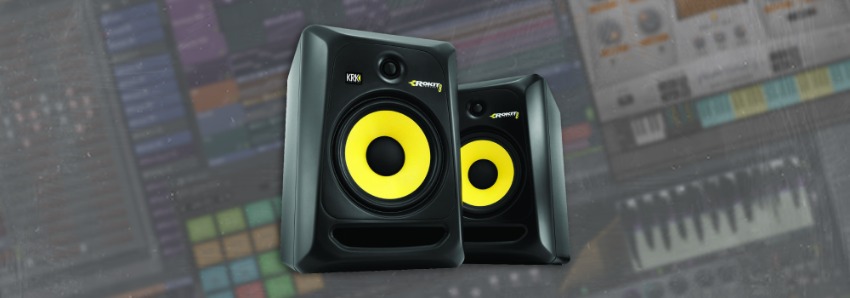
Tip #8: Use High-Quality Studio Monitors
Finally, it’s important to use high-quality monitors when mastering your tracks. This will allow you to hear the subtle nuances in your mix and ensure that your tracks sound great on a wide range of playback systems. When it comes to choosing studio monitor, there are a lot of options out there, but the good news is that you don’t have to spend a fortune in order to acquire a reliable and professional-sounding pair or speakers.
Conclusion
In conclusion, mastering is a complex process that requires a deep understanding of music production and a variety of tools and techniques. By utilizing these tips and techniques in FL Studio, you can create professional-sounding tracks that stand out from the crowd. Remember to take your time, trust your ears, and keep practicing. With patience and persistence, you can master the art of mastering in FL Studio.
Related Posts:
How To Export Stems In FL Studio
10 Ways To Reduce Latency In FL Studio
Top 10 Artists That Use FL Studio In 2023
Want To Know More?
Here at Live Aspects, we have dozens of useful lessons and tutorials created to enhance your music production skills and help speed up the learning process. You can access our huge range of music theory lessons and production tips and tricks here.
1 comment
Thank you for sharing this insightful post. I found it to be engaging and informative. Keep up the excellent work.