A MIDI controller is a must-have in every studio. It is a tool that assists producers to capture their ideas into Ableton faster and with far less effort. Whether you’re looking to use a Keyboard, Controller, or any MIDI Instrument, this guide will help you set up and optimize the features of your MIDI device in your next production.
- | Do I Need A MIDI Keyboard?
- | How To Set Up A MIDI Device
- | How To Map A MIDI Controller
- | How To Record MIDI
- | Use Your Computer Keyboard As A MIDI Controller
- | Reduce MIDI Latency
Without further ado, let’s get started!
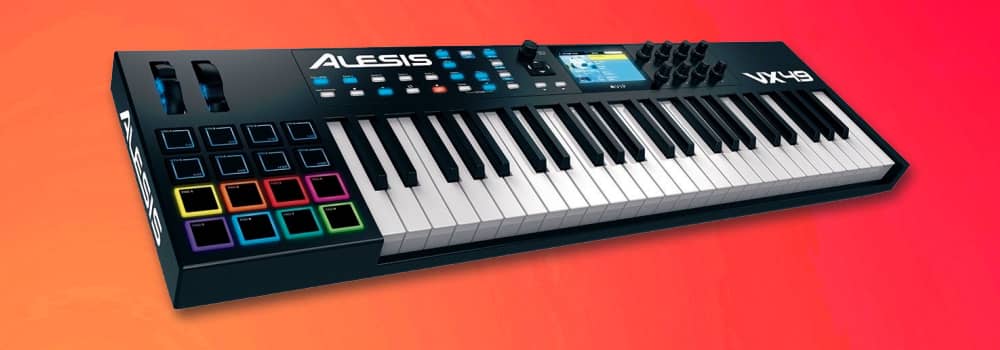
| Do I Need A MIDI Keyboard?
While owning a MIDI keyboard isn’t mandatory, it is highly recommended for a variety of reasons. Serious producers should invest in a MIDI Keyboard as they are an intuitive tool that saves time and assists with the creative process.
A MIDI keyboard makes it easy to experiment with melodies, chords and basslines while you cycle through your preset banks. Draft and develop ideas on your MIDI keyboard before you commit anything to your project.
Recording MIDI also gives more of a human touch compared to programming notes with a mouse and computer keyboard. Record your performances to add an organic-sounding element to your track.
If you’re a performer, a MIDI keyboard allows you to play any instrument imaginable live. Perform drum beats, basslines, synth melodies and string progressions all from a single device.

| How To Set Up A MIDI Device
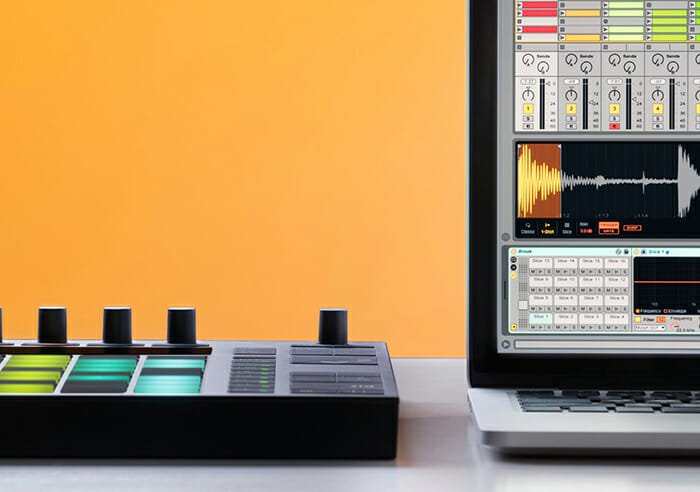
Most MIDI devices are automatically recognized by Ableton and can be used immediately after being plugged in. Other devices require a driver to be installed so they can be supported by Live. If your device requires a driver, make sure to install this before plugging in your device and following the steps below:
Step 1: Connect Your Device
Plug in your MIDI device using the cable supplied. If your device requires power, ensure it is connected too before you continue.
Step 2: Open Preferences
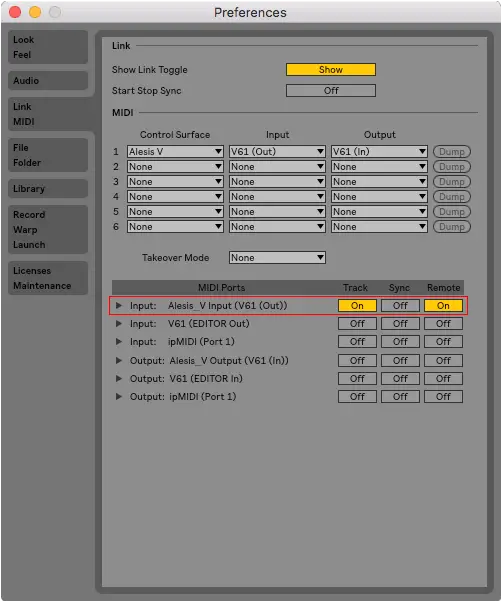
Navigate to Live’s Preferences and select the ‘Link MIDI’ tab. To confirm your device has been recognized, make sure it is listed in the MIDI Ports list. If your device is not active, simply select the ‘Track’ and ‘Remote’ buttons to the right of your device.
Step 3: Test Your Device
Test your setup by pressing anything on your control surface. In the top right corner of your screen, the MIDI indicators will flash in response to MIDI messages being sent to Live from your device.
![]()
| How To Map A MIDI Controller
Mapping in Ableton allows you to control functions in Live using the keys, pads, knobs, or buttons on your MIDI device. Use MIDI mapping as a tool for your live performances or to help expand your ideas.
Step 1: Choose A Parameter
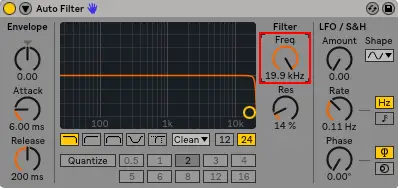
Start by choosing a parameter in live that you wish to control on your MIDI device. This could be anything from a track’s volume to the tempo of your project. Next, decide which key, pad, knob, or button on your device that you want to use to toggle this parameter.
Step 2: Press MIDI Map
Head to the top right corner of Live and select the ‘MIDI’ button or press [COMMAND + M] on Mac or [CNTRL + M] on Windows. All mappable parameters will now turn purple.
![]()
Step 3: Select Live Function & MIDI Device
Left click on the Live function you want to use with your MIDI device. Finally, press your chosen key, pad, knob, or button on your MIDI device to control this function. You have now successfully mapped your MIDI device to control a function within your Ableton project.
| How To Record MIDI
Recording MIDI is a great way to quickly record notes directly to the piano roll. Make sure you have your MIDI device setup in Ableton before following the steps below:
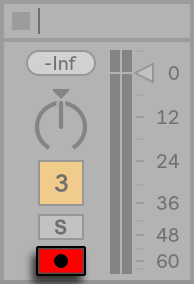
Step 1: Select Arm To Record Button
On the MIDI track you wish to record to, select the Arm Recording button below the Solo button. You will now be able to play the instrument on that MIDI track on your MIDI device.
Step 2: Press Record
On the arrangement view, select where you want recording to begin. This could be at the beginning of your track or at the start of a section. Head to the top of your screen and select the Record button. If you would like a count-in before recording, access your metronome’s menu and select a count-in amount.
![]()
Step 3: Start Playing!
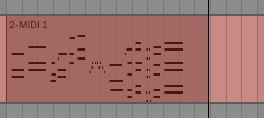
Anything you perform on your MIDI device will now be recorded. Ableton will create a continuous MIDI clip displaying all the notes of your performance in the piano roll.
| Use Your Computer Keyboard As A MIDI Controller
If you don’t have access to a MIDI controller, using your computer keyboard to play MIDI can be a great tool. It allows you to quickly hear instrument presets or experiment with chords and melodies right from your laptop or computer keyboard.
By default, the computer MIDI keyboard is turned off when loading a project. You can toggle the computer MIDI keyboard by pressing ‘M’ on your keyboard. You can also toggle it on and off using the computer MIDI keyboard icon located at the top right of Live’s interface.
![]()
| Reduce MIDI Latency
Latency is the time it takes for data to be transferred between its original source and its destination. Having a high latency makes it difficult to perform or experiment on MIDI devices. It causes a delay between playing a note or chord and hearing it. Below are a few of the best ways to reduce latency in Ableton:
Reduce Buffer Size
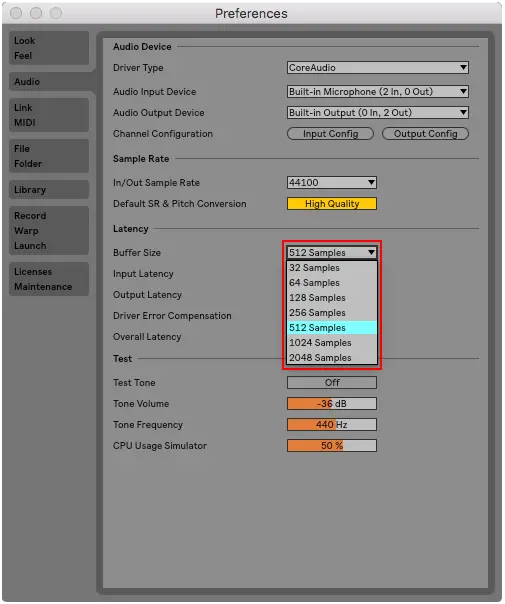
The best way to deal with Latency is to reduce your project’s Buffer Size. Buffer Size is the amount of time it takes for your computer to process any incoming audio signal. So keeping this value low keeps latency to a minimum.
Head to Live’s preferences, then click ‘Audio’ and under the ‘Latency’ heading, select the drop-down menu to the right of ‘Buffer Size’.
Increase Sample Rate
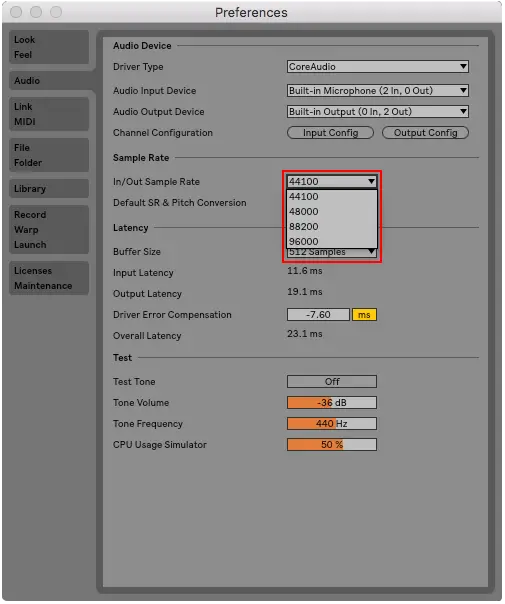
Another way to reduce Latency is to increase your Sample Rate. Sample Rate is the amount of samples which are carried per second. The higher the sample rate, the lower the latency.
It is recommended you only use this method if you have a powerful computer or are working with a smaller project. A higher Sample Rate requires more CPU load.
Reduce CPU Load
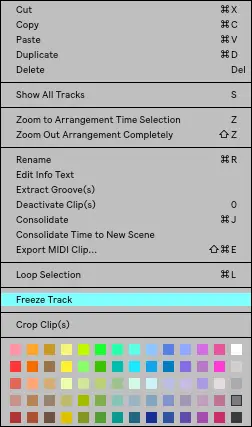
There are a variety of ways to reduce your CPU load. Incorporating them into your projects helps maximise your CPU performance as you go. These include freezing tracks, removing unused tracks and plugins, freeing up hard-drive space or quitting other applications.
If you’d like an in-depth look at how to reduce latency and increase your CPU performance, visit our previous guide titled ‘How To Reduce Lag In Ableton Live’.
Want To Know More?
If you’re looking for information regarding MIDI Clips, head on over to one of our previous posts about Importing & Exporting here.
Here at Live Aspects, we have dozens of useful lessons and tutorials created to enhance your music production skills and help speed up the learning process. You can access our huge range of music theory lessons and production tips and tricks here.