Keyboard shortcuts are an essential part of using a DAW. However, if you’re new to Ableton, it can be difficult to keep track of them all. But what if we told you there were just 30 shortcuts you could learn in order to use Ableton Live like a pro?
We’ve narrowed down Ableton’s entire collection of 200+ keyboard shortcuts to the 30 you will actually use each time you open the software.
From simple commands like copying and pasting to more advanced shortcuts like quantizing and grouping, these shortcuts will help you navigate the software with ease and make your workflow more efficient.
Without further ado, let’s get started!

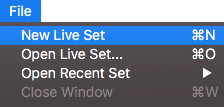
1. | New Live Set
Mac: [COMMAND] + N
Windows: [CNTRL] + N
Anyone who uses Ableton Live will find themselves starting new projects on a regular basis. This keyboard shortcut will completely clear your workspace, giving you a clean slate to create something new and exciting.
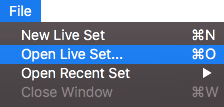
2. | Open Live Set
Mac: [COMMAND] + O
Windows: [CNTRL] + O
If you have just opened up Ableton and you need a quick way to access your previous Live projects, this shortcut will certainly come in handy. It will open up Finder/File Explorer to the folder where you save your project files.
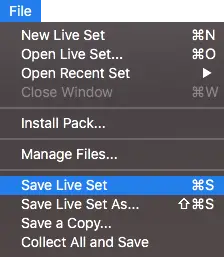
3. | Save Live Set
Mac: [COMMAND] + S
Windows: [CNTRL] + S
This is arguably the most important shortcut on this list. There’s no worse feeling than when your computer crashes and you’ve forgotten to save your project. Save your project quickly and on the fly with the ‘Save Live Set’ keyboard shortcut.
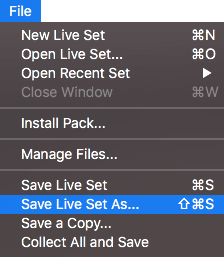
4. | Save Live Set As
Mac: [COMMAND] + [Shift] + S
Windows: [CNTRL] + [Shift] + S
If you’re looking to save an existing project under a new name, this keyboard shortcut will save your current project as a new live set. This shortcut is also helpful if you want to back up a project onto an external hard drive.
5. | Cut
Mac: [COMMAND] + X
Windows: [CNTRL] + X
The cut command is used to remove objects from your Live project with the option of placing them elsewhere. You can use this command on clips, tracks, plugins, devices, automation, MIDI notes and more.

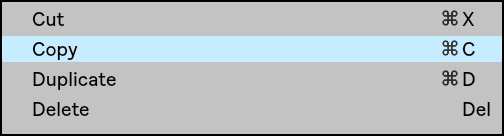
6. | Copy
Mac: [COMMAND] + C
Windows: [CNTRL] + C
The copy command is similar to cut in that the copied data is sent to your computer’s clipboard. However, unlike cut, the object that you copied isn’t removed from your project.
7. | Paste
Mac: [COMMAND] + V
Windows: [CNTRL] + V
The paste command allows you to insert the most recently cut or copied items from your clipboard into your project. Use this keyboard shortcut to move or copy clips, MIDI notes, and more to new locations.
![]()
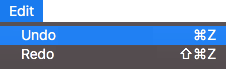
8. | Undo
Mac: [COMMAND] + Z
Windows: [CNTRL] + Z
If you have accidentally made a mistake or don’t like the way something sounds, you can undo it using the undo command. Ableton Live keeps track of the actions you take while creating a project so that you can undo more than one change.
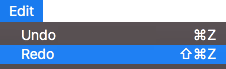
9. | Redo
Mac: [COMMAND] + [Shift] + Z
Windows: [CNTRL] + Y
If you have accidentally hit undo on something you wanted to keep, the redo function allows you to return to your project’s most recent state.
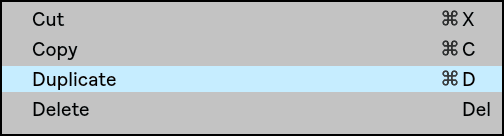
10. | Duplicate
Mac: [COMMAND] + D
Windows: [CNTRL] + D
The duplicate keyboard function allows you to instantly place a copy of an object (clip, track, device etc.) in Live immediately after the original. This is particularly handy when you need to repeat or extend the duration of a particular sound.
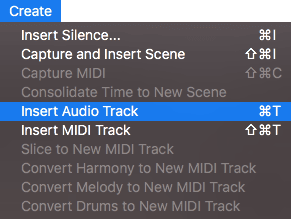
11. | Insert Audio Track
Mac: [COMMAND] + T
Windows: [CNTRL] + T
Audio tracks are used to host, edit and manipulate audio files in MP3, WAV and other formats. Recording audio and live instrumentation can be achieved using audio tracks.
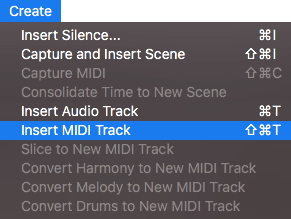
12. | Insert MIDI Track
Mac: [COMMAND] + [Shift] + T
Windows: [CNTRL] + [Shift] + T
MIDI tracks are used to record, create and edit MIDI data. Virtual instruments and MIDI controllers can be used to create melodies, harmonies and rhythms through the use of MIDI clips.
13. | Toggle Session & Arrangement View
Mac: [TAB]
Windows: [TAB]
If you’re a musician who likes to work in both session view and the arrangement view, you can toggle between by pressing [TAB]. Instantly swap between the live performance features of session view and the composing and arranging capabilities of the arrangement view.

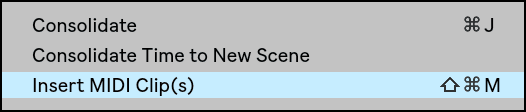
14. | Insert MIDI Clip(s)
Mac: [COMMAND] + [Shift] + M
Windows: [CNTRL] + [Shift] + M
A MIDI clip in Live contains notes and controller data that is played back using a virtual instrument. Alongside audio clips, MIDI clips make up a large percentage of songs made in Ableton.
15. | Rename
Mac: [COMMAND] + R
Windows: [CNTRL] + R
The rename keyboard shortcut allows you to change the title of clips, tracks, devices and more. This function can be used to organize and identify the different components of your projects.

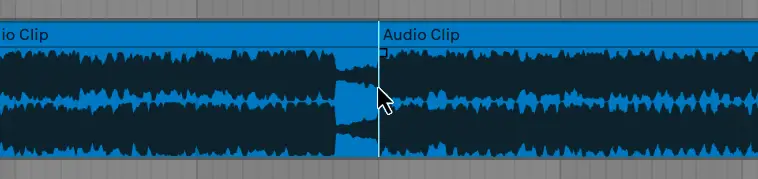
16. | Split Clip
Mac: [COMMAND] + E
Windows: [CNTRL] + E
The split clip function allows you to cut an audio or MIDI clip at a particular beat|bar and separate it into small segments. It makes it possible to move portions of a clip to a different position on the timeline.
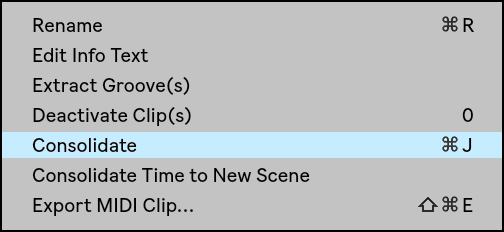
17. | Consolidate
Mac: [COMMAND] + J
Windows: [CNTRL] + J
Consolidating is the process of combining multiple clips into a single clip. Just select any number of clips from the same track and use the keyboard shortcut to consolidate them into one clip.
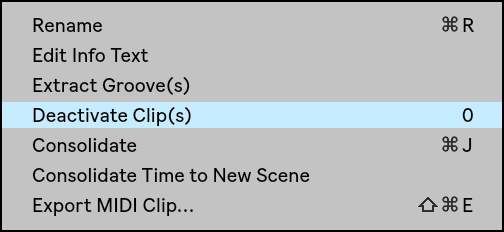
18. | Deactivate/Activate Clip(s)
Mac: 0
Windows: 0
If you want to mute or temporarily disable a particular audio or MIDI clip, use the deactivate function. Deactivated clips can be quickly reactivated using the same keyboard shortcut.
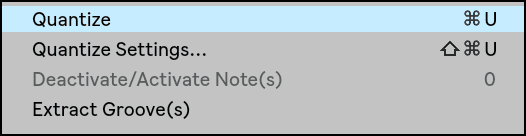
19. | Quantize
Mac: [COMMAND] + U
Windows: [CNTRL] + U
Quantization is a production technique that corrects imperfect timing. Iron out mistakes and instantly make your recordings flawless by using the quantize feature. Both audio and MIDI clips can be quantized.
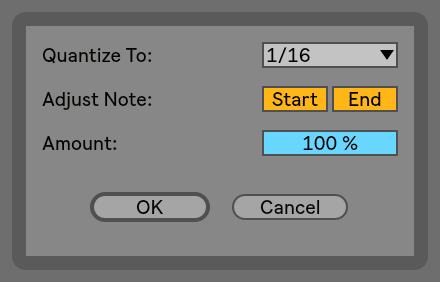
20. | Quantize Settings
Mac: [COMMAND] + [Shift] + U
Windows: [CNTRL] + [Shift] + U
The quantize settings let you customize how audio and MIDI data will be quantized. Here you can select the grid size you wish to quantize to, as well as the amount of quantization and whether you would like the start and/or end of MIDI notes to be quantized.
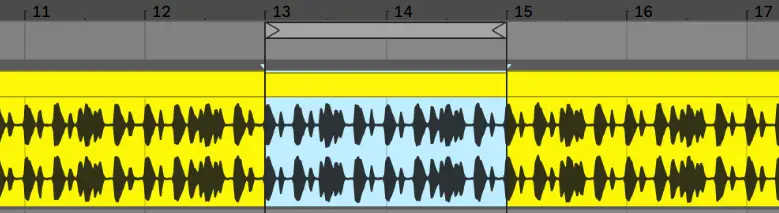
21. | Loop Selection
Mac: [COMMAND] + L
Windows: [CNTRL] + L
Live’s loop selection function lets you continuously repeat a designated section of your project. Simply highlight any number of beats|bars on the timeline and use the keyboard shortcut to set the start and end loop points.
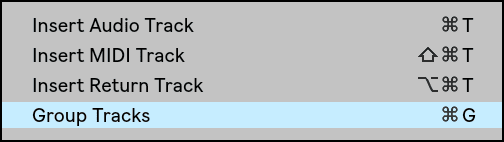
22. | Group Tracks
Mac: [COMMAND] + G
Windows: [CNTRL] + G
Groups are a great way to control and edit a collection of audio or MIDI tracks. They are most useful when needing to process a selection of instruments as a whole. Make sure to select the audio and/or MIDI tracks you would like to group before you use the keyboard shortcut.
23. | Zoom In/Out
Mac: +/-
Windows: +/-
When you’re working in the arrangement view or the piano roll, you can quickly zoom in and out using the + and – buttons on your keyboard. This hotkey is a handy shortcut to know when you need to get a better look at what you have created.
![]()
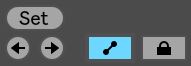
24. | Draw Mode On/Off
Mac: B
Windows: B
With draw mode enabled, you can single-click and drag to draw automation points and pencil in MIDI notes into the piano roll. Draw mode allows you to instantly pencil in velocity values instead of dragging individual markers up or down.
![]()
25. | Automation Mode On/Off
Mac: A
Windows: A
Enabling automation mode will activate the automation lane and is the first step to creating your own automation envelopes. Disabling automation mode can neaten the appearance of the arrangement view and make it easier to work with clips.
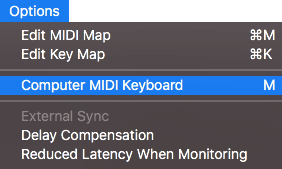
26. | Computer MIDI Computer On/Off
Mac: M
Windows: M
If you don’t have access to a MIDI controller, you can use your computer’s keyboard as a MIDI keyboard. You can play the black keys from a typical piano using the top row of letters and the white keys using the second row. The bottom row of letters (Z to V) contains octave and velocity controls.
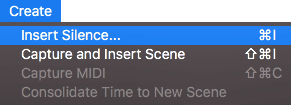
27. | Insert Silence
Mac: [COMMAND] + I
Windows: [CNTRL] + I
Live’s insert silence function allows you to insert a certain amount of empty bars anywhere in the arrangement view. This is particularly helpful if you need to duplicate or extend a portion of your project or insert an entirely new section.
28. | MIDI Map Mode On/Off
Mac: [COMMAND] + M
Windows: [CNTRL] + M
MIDI mapping makes it possible to integrate the buttons, knobs and pads on your MIDI controller with Ableton Live. The MIDI mapping feature allows you to control parameters such as volume, pitch, filter cutoff, reverb dry/wet etc.

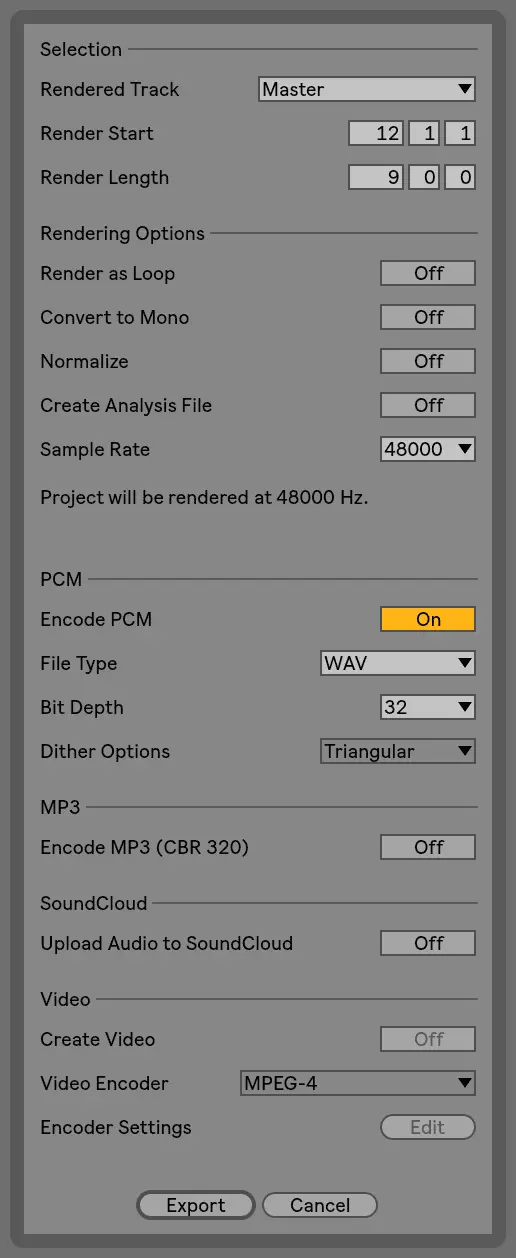
29. | Export Audio/Video
Mac: [COMMAND] + [Shift] + R
Windows: [CNTRL] + [Shift] + R
Exporting your Ableton Live project is the final step in the creative process. It allows you to save your project as a more distributable format like MP3 or WAV. The export window contains a variety of different settings that determine the format, quality, length and size of your project when exported.
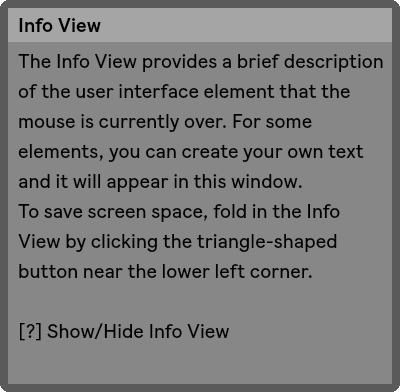
30. | Show/Hide Info View
Mac: [Shift] + R
Windows: [Shift] + R
Live’s info view tells you the name and function of whatever you place your cursor over. It is a powerful tool that helps you learn the name and function of any feature in Ableton Live.
If you would like to learn more Ableton Live keyboard shortcuts, you can view the entire list here.
Want To Know More?
Here at Live Aspects, we have dozens of useful lessons and tutorials created to enhance your music production skills and help speed up the learning process. You can access our huge range of music theory lessons and production tips and tricks here.