From randomizing to quantizing, there are many possible ways to edit velocity in Ableton Live. Velocity can add a human-like touch to a purely electronic recording and can be utilized to mimic the imperfections of a real musician or performance. It can mean the difference between a lifeless MIDI recording and an exciting piece of audio.
Hi, I’m Ben from Live Aspects and in this guide, you will find everything there is to know about Velocity in Ableton Live.
- | What Is Velocity?
- | How To Change Velocity
- | Draw Mode
- | How To Randomize Velocity
- | How To Automate Velocity
- | How To Reset Velocity
Without further ado, let’s dive in!
| What Is Velocity?
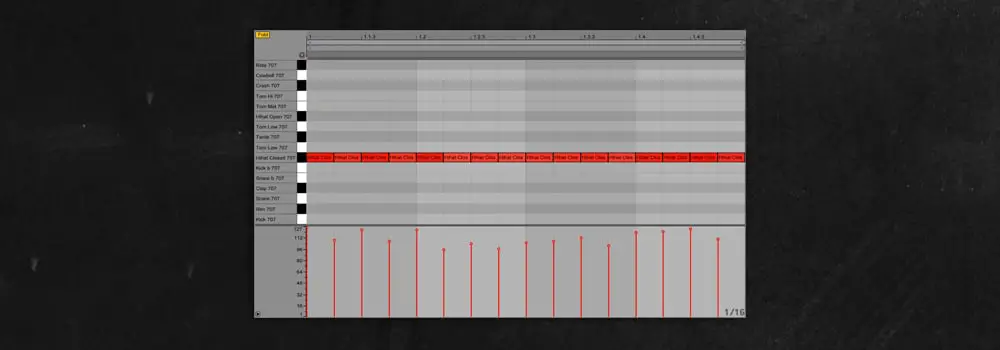
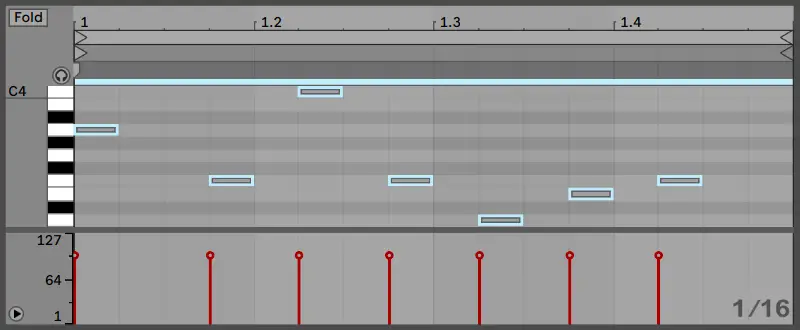
Velocity is a measure of how forcefully a key on a keyboard is pressed. When writing or recording MIDI in Ableton Live, Velocity is also notated alongside each MIDI note. Velocity is measured on a scale from 0 to 127 and can be edited in the Piano Roll of a MIDI clip.

| How To Change Velocity
Step 1: Open Piano Roll
To change the velocity of a set of MIDI notes, double-click on the top part of a MIDI clip to open the Piano Roll.
Step 2: Toggle Velocity Editor
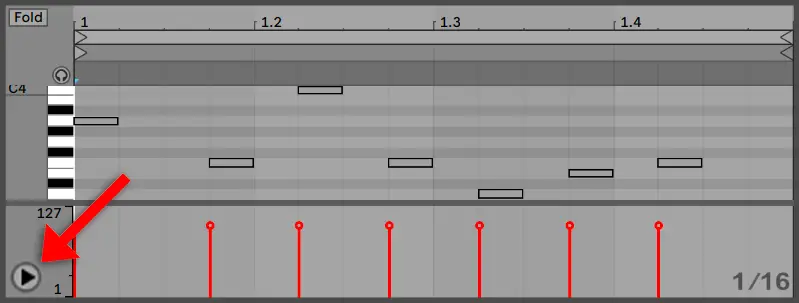
Next, navigate to the Velocity Editor. This can be accessed by toggling the small triangular icon in the bottom left corner of the Piano Roll.
Step 3: Adjust Velocity Markers
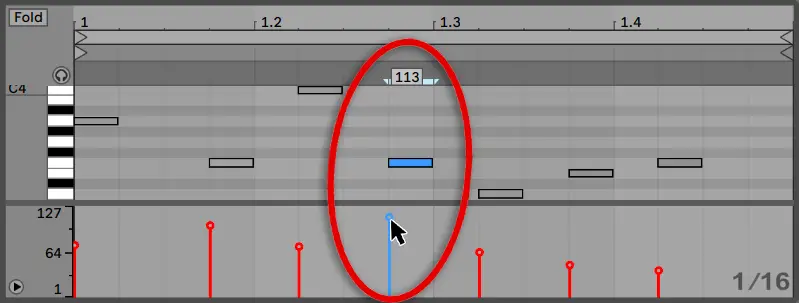
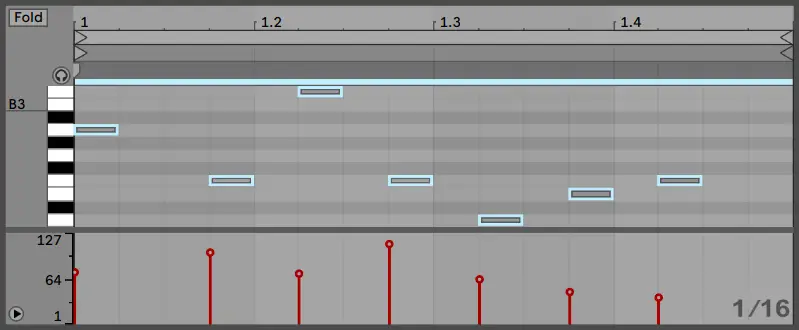
Lastly, adjust the red velocity markers to your liking. Each MIDI note is allocated a red velocity marker. Raising the height of a marker increases the velocity while lowering it reduces the velocity. When adjusting a velocity marker, the accompanying MIDI note will turn blue and the velocity value will be displayed above the note.
To change the velocity of multiple notes at once, simply highlight a selection of MIDI notes then click and drag one of the selected velocity markers. All highlighted velocity markers will move in unison.
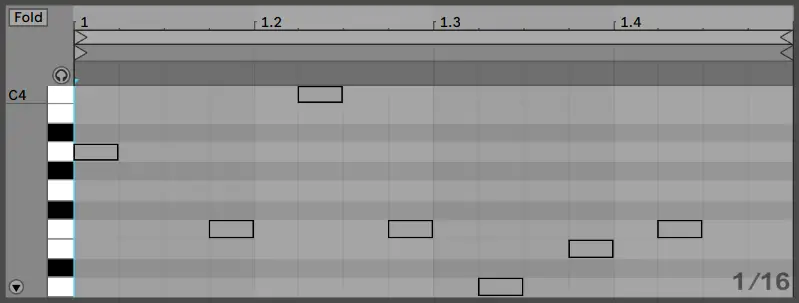
| Draw Mode
Draw Mode allows you to instantly pencil in velocity values instead of dragging individual markers up or down. If you are looking to change the velocity of a larger selection of MIDI notes, try using Draw Mode. It is a less finicky and much quicker way to edit Velocity. You can enter Draw Mode by pressing [B] on your keyboard or by selecting the pencil icon in the top bar.
![]()
| How To Randomize Velocity
Randomizing velocity can be achieved using the ‘Add Some Random’ preset of the Velocity MIDI Effect. This preset will randomize the velocity of all MIDI notes played on the selected MIDI track.
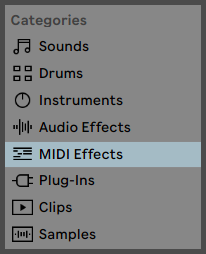
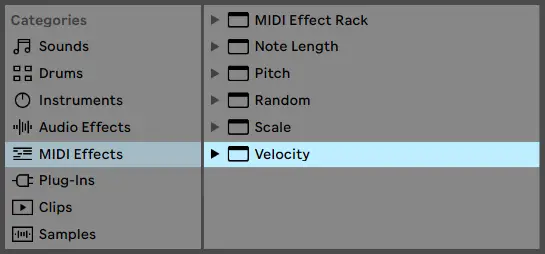
Step 1: Navigate To MIDI Effects
Navigate to the MIDI Effects category in Live’s Browser by selecting the arrow in the top left corner of the Live window or by pressing [COMMAND + Option + B] on Mac or [CNTRL + Alt + B] on Windows.
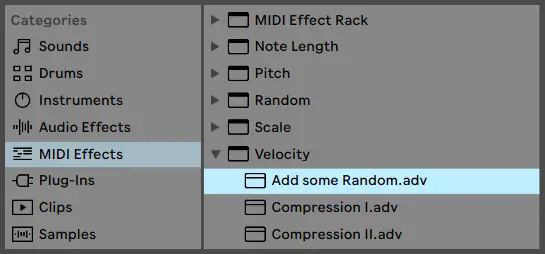
Step 2: Select ‘Add Some Random’ Preset
Next, select the MIDI Effects category and click on the drop-down arrow beside the Velocity plugin. Double-click on the ‘Add Some Random’ preset to add it to the selected MIDI track or drag and drop it onto a MIDI track. Once the device is loaded, the velocity of each MIDI note will now be played at random.
Step 3: Edit Parameters
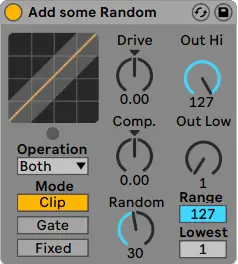
Lastly, edit the plugin’s parameters to your liking. Adjusting the ‘Out Hi’ and ‘Out Low’ knobs will define the range of Velocity values that can be outputted from the device. The ‘Random’ knob determines the amount of possible variation when the velocity of a note is randomly generated.
| How To Automate Velocity
Step 1: Navigate To MIDI Effects
Navigate to the MIDI Effects category in Live’s Browser by selecting the arrow in the top left corner of the Live window or by pressing [COMMAND + Option + B] on Mac or [CNTRL + Alt + B] on Windows.
Step 2: Add Velocity MIDI Effect
Next, select the MIDI Effects category and locate the ‘Velocity’ MIDI effect. Double-click on the ‘Velocity’ device to add it to the selected MIDI track or drag and drop it onto a MIDI track.
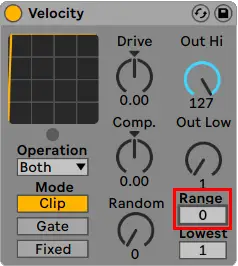
Step 3: Set ‘Range’ To 0
Once the plugin has loaded, click and drag the ‘Range’ value down to 0.
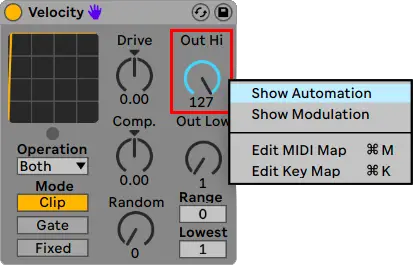
Step 4: Show Automation For ‘Out Hi’
Next, right-click on the ‘Out Hi’ parameter and select ‘Show Automation’. The automation arm for the Out Hi value will now appear on the MIDI track in Arrangement View.
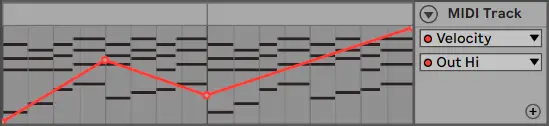
Step 5: Automate Velocity
Lastly, create velocity automation by shaping the automation envelope. Left-click on the automation envelope to create breakpoints, then click and drag to adjust its shape.
| How To Reset Velocity
Step 1: Highlight MIDI Notes
If you have recorded a set of MIDI notes with all different velocity values, resetting or quantizing their velocities is simple. Start by highlighting a selection of MIDI notes or select all by pressing [COMMAND + A] on Mac or [CNTRL + A] on Windows.
Step 2: Drag Velocity Values To 0
Left-click and drag any of the highlighted velocity markers down to the bottom of the Velocity Editor window. This will reset all velocity markers to 0.

Step 3: Reset Velocity Values
Lastly, left-click and drag any velocity marker upwards to increase the velocity of all markers. The velocity of each MIDI note will now be the same.
If you would like to learn more about what is possible in the Piano Roll, make sure to check out our previous post titled ‘How To Use The Piano Roll In Ableton’.
Want To Know More?
Here at Live Aspects, we have dozens of useful lessons and tutorials created to enhance your music production skills and help speed up the learning process. You can access our huge range of music theory lessons and production tips and tricks here.