Sending an Ableton Live project is essential when collaborating with other artists. Live comes with a series of unique tools that makes it easy to share your Ableton projects with friends. Ableton’s innovative ‘Collect All and Save’ feature saves all samples used in your project to the project folder so nothing is missing when others go to open your session.
Hi, I’m Ben from Live Aspects and in six easy steps, I’ll be showing you the most efficient way to share your Ableton Live projects.
- | Step 1: Open Ableton Live Project
- | Step 2: Freeze MIDI Tracks
- | Step 3: Collect All & Save
- | Step 4: Select All Used Media Files
- | Step 5: Locate Project File
- | Step 6: Share Project File
Without further ado, let’s get started!

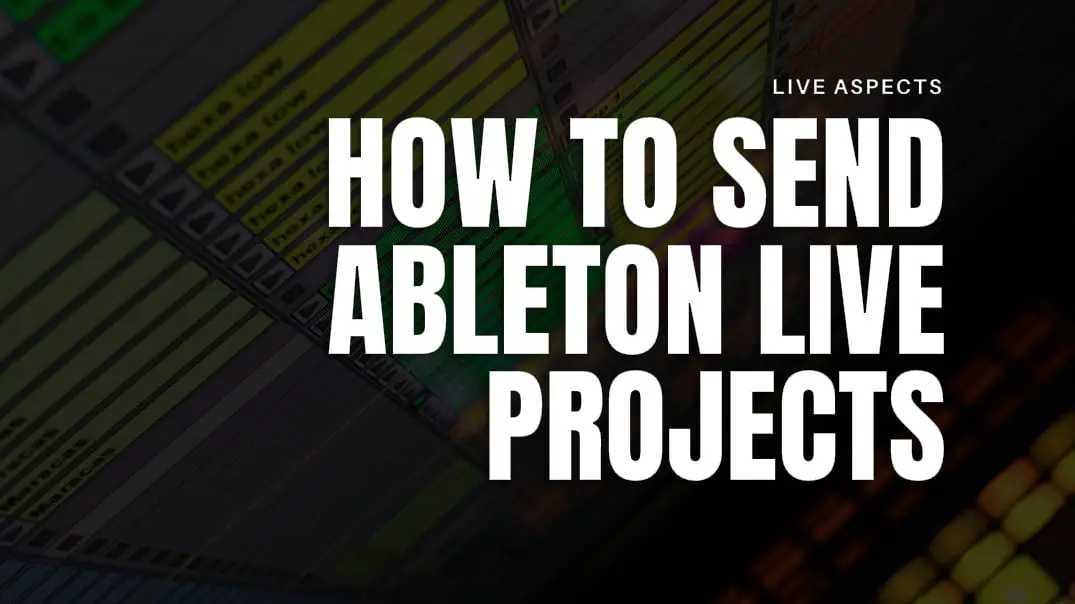
| Step 1: Open Ableton Live Project
Start by opening up the Ableton project you would like to share. Head to the File menu at the top of the Live window and select ‘Open Live Set’. Next, navigate through your files and folders and double-click on your project’s .als file. Alternatively, select your project from the ‘Open Recent Set’ list.
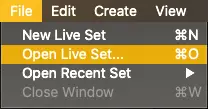
| Step 2: Freeze MIDI Tracks
If your project contains MIDI tracks with external VST instrument plugins (eg. Massive, Serum, Sylenth1), make sure to freeze them. This will allow others to playback the content in each of your MIDI tracks if they do not have the VST instrument installed. To freeze a MIDI track, simply right-click on the track name and select ‘Freeze’.
If the person you are sharing your project with does have the external instrument plugins your project contains, they can simply right-click on the MIDI track and select ‘Unfreeze’ in order to edit any MIDI clips it contains.
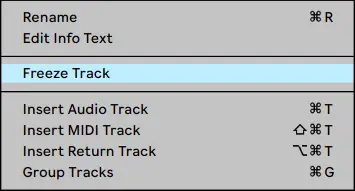
| Step 3: Collect All & Save
Next, head to the File menu and select ‘Collect All and Save’. This function collects all the samples used in your project from your hard-drive and stores them in the project folder.
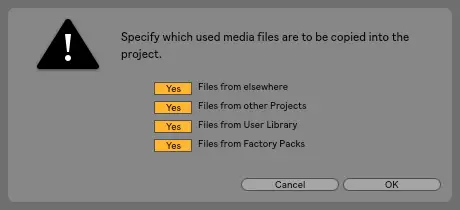
| Step 4: Select All Used Media Files
After selecting ‘Collect All and Save’, a window will pop up asking which used media files you would like copied into the project folder. Make sure that ‘Yes’ is selected for all four media types.
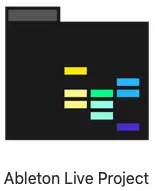
| Step 5: Locate Project File
Open Finder (Mac) or File Explorer (Windows) and navigate to the location of your Live project’s folder. The icon of your project folder should look like the one below:
| Step 6: Share Project File
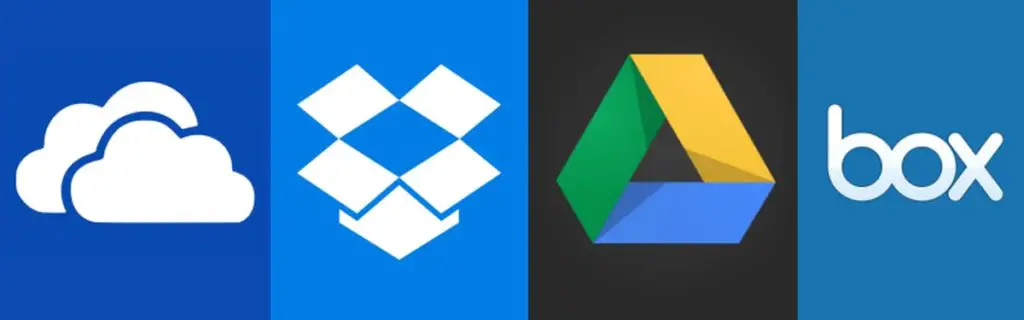
Your project is now ready to be shared! Ableton Live projects can be uploaded and shared using an online file storage service such as Google Drive or Dropbox. Alternatively, you can copy and paste the folder onto an external storage device like a USB, SD Card or a hard-drive.
If an online file storage service requires files to be in .zip or .rar format, simply right-click your project folder and select ‘Compress’.
Projects
Want To Know More?
Here at Live Aspects, we have dozens of useful lessons and tutorials created to enhance your music production skills and help speed up the learning process. You can access our huge range of music theory lessons and production tips and tricks here.