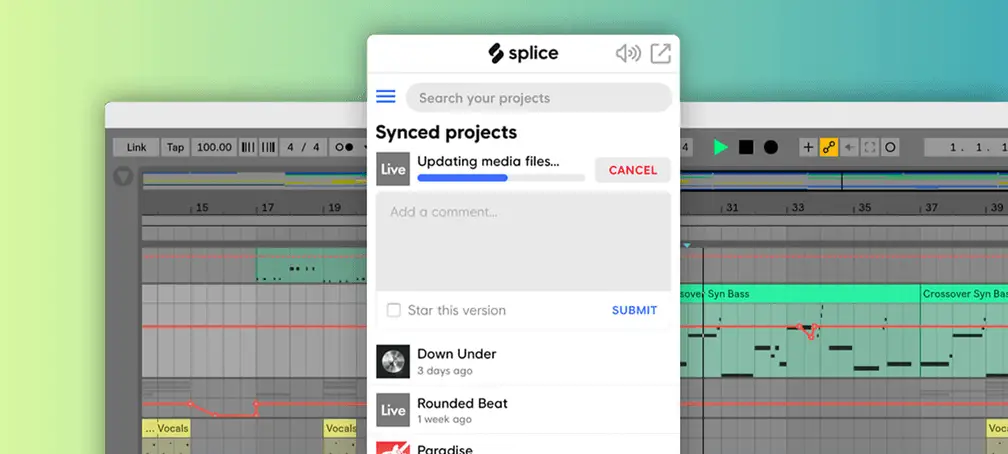
Splice gives producers access to more than 500,000 samples, as well as a huge collection of free, paid and rent-to-own instrument and effects plugins. It offers seamless compatibility and flawless integration between its desktop application and Ableton Live. Back up all of your Ableton Live projects, keep track of song revisions and collaborate with producers around the world with Splice.
Hi, I’m Ben from Live Aspects and in this guide, I’ll be outlining how to use all aspects of Splice with Ableton Live to help you get the most out of your Splice membership.
- | How To Add Splice Sounds To Your Ableton Session
- | Where Are Splice Samples Stored?
- | Add A Folder To Live’s Browser
- | Sample Collections
- | Plugins
- | Presets
- | Backup Your Ableton Projects
- | How Much Does Splice Cost?
Without further ado, let’s dive in!
| How To Add Splice Sounds To Your Ableton Session
Step 1: Download Splice Desktop App
To add Splice samples to your Ableton Live projects, start by downloading the Splice application. It is compatible with both Mac and Windows devices. You can download it here. Once you have loaded the page, the application will begin downloading automatically.

Step 2: Install Splice Desktop App
Once the .dmg or .exe file has finished downloading, open the file to begin the installation process. Follow the on-screen prompts to install the app.

Step 3: Sign-In/Sign-Up To Splice
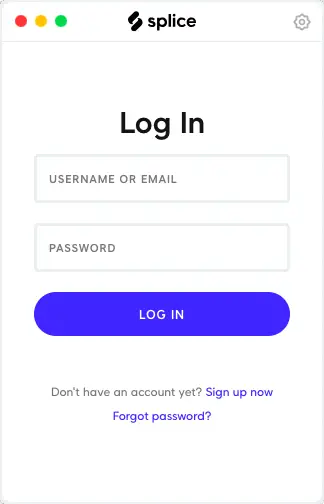
Log into the Splice application by typing in your username/email and your password and selecting ‘Log In’. To sign up for Splice, select ‘Sign up now’ at the bottom of the login window.
Step 4: Download Samples
Browse through the ‘Packs’ and ‘Genres’ tabs on the left to access Splice’s huge collection of samples. You can also use filters to help you find the perfect sample. Once you have decided on a sound you would like to incorporate into your Ableton project, press the ‘1 Credit’ button beside the sample to download it. All of your downloaded samples will appear in the ‘All Downloads’ folder.

Samples downloaded from the Splice website will also appear in the ‘All Downloads’ folder of the Splice application. Simply press the blue download button beside a sample to re-download it to the Splice application and to the assigned local folder on your computer.

Step 5: Open Ableton & Create Audio Track
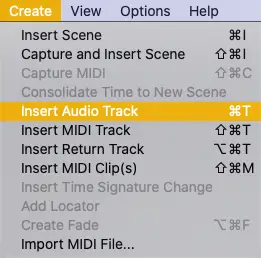
Head into Ableton Live and open up a new or existing session. Next, create an audio track by navigating to the Create menu and selecting ‘Insert Audio Track’. Alternatively, press [COMMAND + T] on Mac or [CNTRL + T] on Windows.
Step 6: Drag & Drop Splice Samples
Lastly, head back to the Splice application and navigate to the ‘All Downloads’ folder. Left-click on the sample you would like to add to your Live project and drag-and-drop it anywhere on the audio track in your Ableton session. Alternatively, you can select the blue square icon beside a sample to copy to your clipboard then simply paste your sample onto the audio track.

| Where Are Splice Samples Stored?
All samples downloaded from the Splice application are stored locally on your computer’s hard-drive. A folder titled ‘Splice’ is created on your computer upon the first sample you download from the Splice application. Samples can be found in a folder called ‘Sounds’ within the Splice folder.
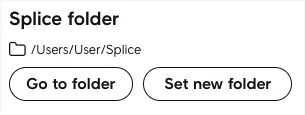
To find out where samples are stored, click on the cog beside your username in the Splice application. The directory will be listed below the ‘Splice Folder’ heading.
To change where Splice samples are downloaded to, select ‘Set new folder’ and browse to a new folder directory.
| Add A Folder To Live’s Browser
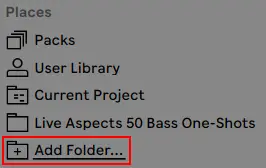
If you would like immediate access to your Splice samples all within the Ableton interface, adding your Splice samples to a folder in Live’s Browser is a smart and convenient solution. Firstly, open the Browser window by selecting the triangular icon in the top right corner of the Live window. Next, select ‘Add Folder’ below the ‘Places’ heading. Lastly, navigate to the location of your Splice Samples.
| Sample Collections
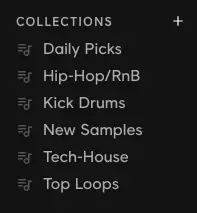
Collections are a fantastic way to group sounds to your liking for ease of access. Whether it’s by genre, sample type, mood or date, collections make it easy to sort and find samples. This feature is available on both the desktop application and Splice.com website.
To create a sample collection, simply navigate to the left-side of the Splice window and hit the ‘+’ symbol beside the ‘Collections’ heading. Type in the title of your collection and press [ENTER] on your keyboard.
To add samples to your collections, simply head to the ‘All Downloads’ tab and drag-and-drop downloaded samples onto the title of a collection.
You can edit the settings of a collection by selecting the three horizontal dots and clicking ‘Settings’. Here you can rename your collection, add a description, post your collection to Splice.com or delete your collection.
| Plugins
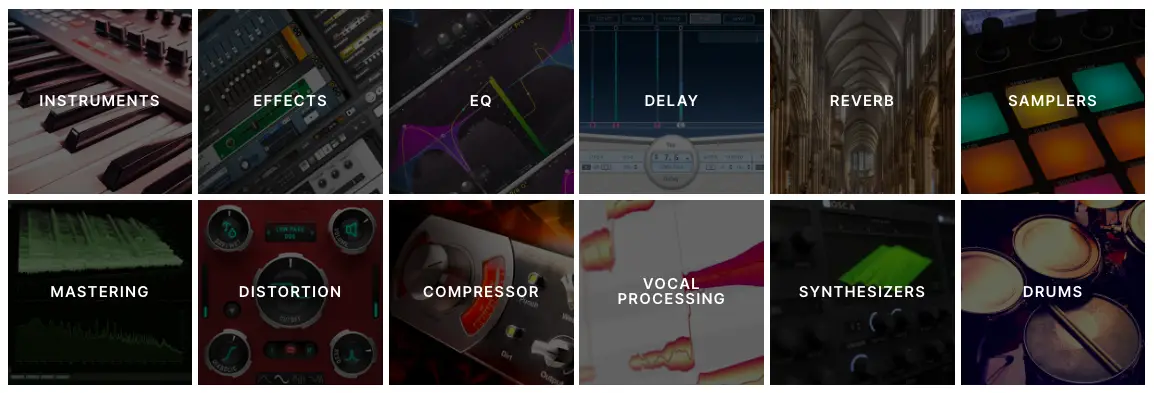
Plugins are used to broaden sound libraries, edit audio in unique ways and expand what is possible in music production. Splice features an exciting library of instrument and effects plugins made by plugin manufacturers from all over the internet. Popular plugins such as Serum, LFOTool, RC-20 Retro Color and more can be downloaded directly from Splice.
To access Splice’s collection of free, paid and rent-to-own plugins, click here or simply select the ‘Plugins’ heading at the top of the Splice homepage.
If you would like to learn how to install plugins in Ableton Live, you can view our previous tutorial titled ‘How To Install VST Plugins In Ableton’.
| Presets
Splice credits can also be redeemed for presets for a range of third-party instrument plugins. These include Astra, Beatmaker, Serum, Sylenth, Massive and Spire. Presets can be downloaded for just 3 credits each.
Splice’s entire collection of instrument presets can be downloaded from the ‘Sounds’ page on the Splice website here. Splice packs that contain instrument presets can be accessed by selecting the ‘Presets’ button displayed on a pack. You can also use the filters to help you find a specific type of preset.
You can hear a preview of a presets by selecting the blue play button to the left of a preset’s title.

| Backup Your Ableton Projects
The Splice app can back up every save and sample of your Ableton Live projects. There are two options when syncing your projects with Splice: the first being ‘Sync from anywhere’ and the second being ‘Sync from Splice folder only’. Both options will automatically backup new saves of any project file tracked with Splice.
The ‘Sync from anywhere’ option will ask you if you want to sync every time you save a new project. With the ‘Sync from Splice folder only’ option enabled, projects saved in the Splice folder (or any of its sub-folders) will sync automatically. You can also drag and drop existing projects into this folder to sync them.

| How Much Does Splice Cost?
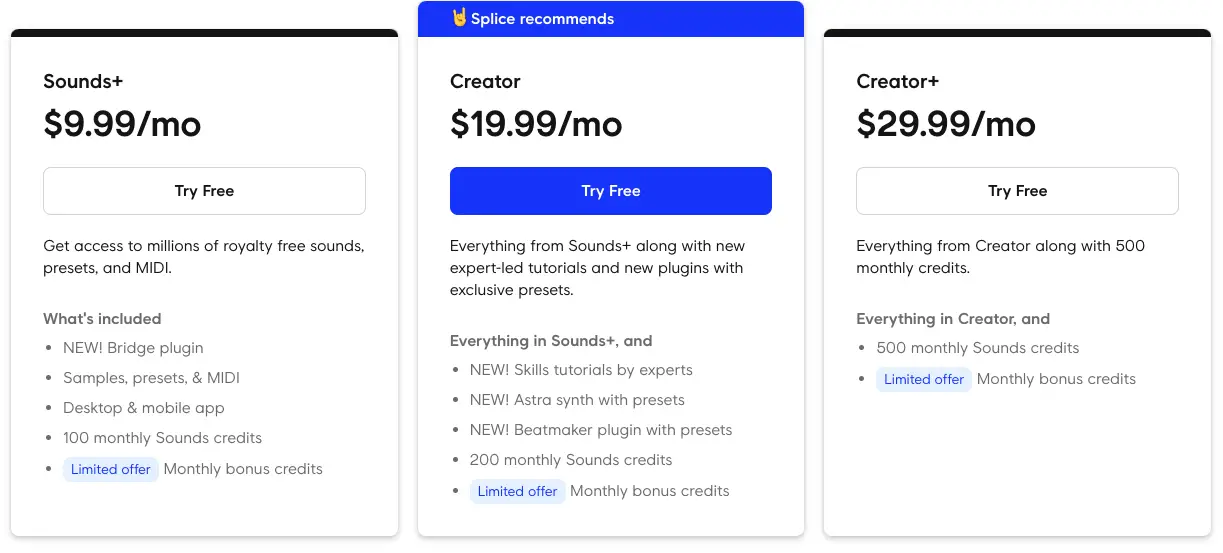
Splice is a subscription-based services with three available plans starting at just $9.99/month. Splice also offers a 14-day free trial on all plans, as well as an option to pay annually. Each month, credits are added to your account, where 1 credit is worth 1 sample download. The number of credits added to your account each month depends on which plan you are subscribed to. Unused monthly credits will remain in your account for as long as you subscribed to a Splice membership.
- $9.99/month for 100 monthly credits
- $19.99/month for 200 monthly credits
- $29.99/month for 500 monthly credits
Below are the three plans with an outline of the features included:
Want To Know More?
Here at Live Aspects, we have dozens of useful lessons and tutorials created to enhance your music production skills and help speed up the learning process. You can access our huge range of music theory lessons and production tips and tricks here.