Implementing white noise into your Live projects is a great way to add depth and texture to your tracks. While the famous static sound effect isn’t particularly pleasant on its own, it can be used in conjunction with other sounds to spice up your productions and add another dimension to your projects.
To make white noise in Ableton Live, start by adding the Operator instrument to a new MIDI track. Once Operator has loaded into the detail view, select Oscillator A. Lastly, select ‘Noise White’ from the ‘Wave’ drop-down box. You can now use a MIDI keyboard to generate white noise or draw patterns into the piano roll.
Hi, I’m Ben from Live Aspects and in four easy steps, I’ll show you the best way to create white noise in Ableton Live.
- | Step 1: Create A MIDI Track
- | Step 2: Insert Operator Instrument
- | Step 3: Select Oscillator A
- | Step 4: Select ‘Noise White’ Waveform
Without further ado, let’s get started!
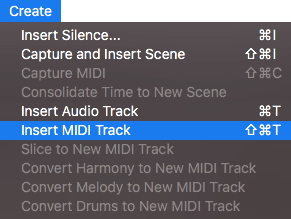
| Step 1: Create A MIDI Track
To create white noise in Ableton Live, start by creating a MIDI track. Head to the Create menu at the top of your screen and select ‘Insert MIDI Track’. Alternatively, you can press [COMMAND] + [Shift] + T on Mac or [CNTRL] + [Shift] + T on Windows.
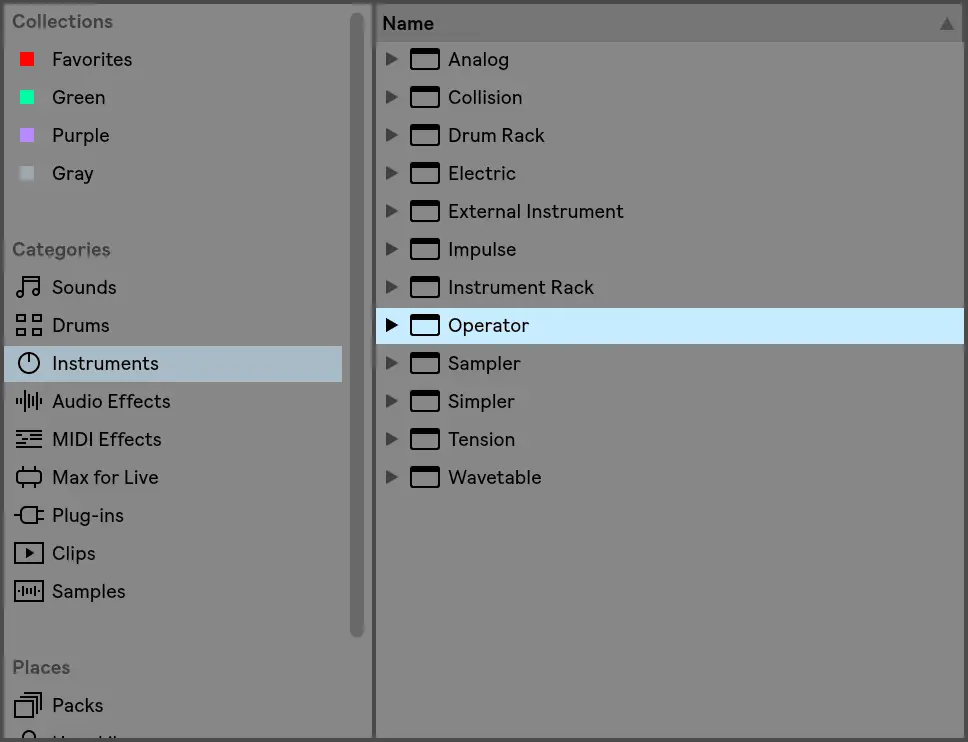
| Step 2: Insert Operator Instrument
Next, head to Live’s Browser on the left side of the interface and select ‘Instruments’. Double-click the Operator instrument or drag and drop it onto your new MIDI track.
If the Browser is hidden, press the triangle icon in the top left corner.
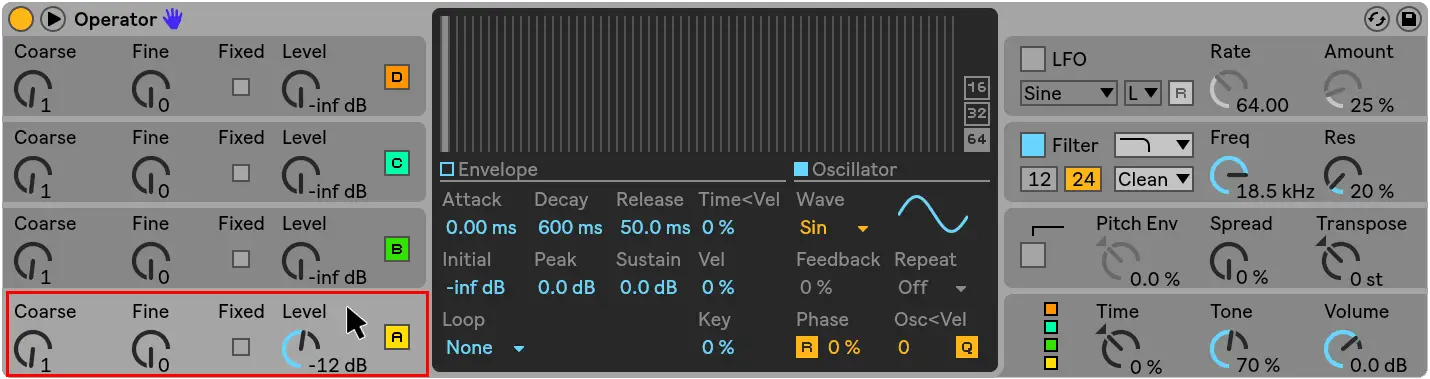
| Step 3: Select Oscillator A
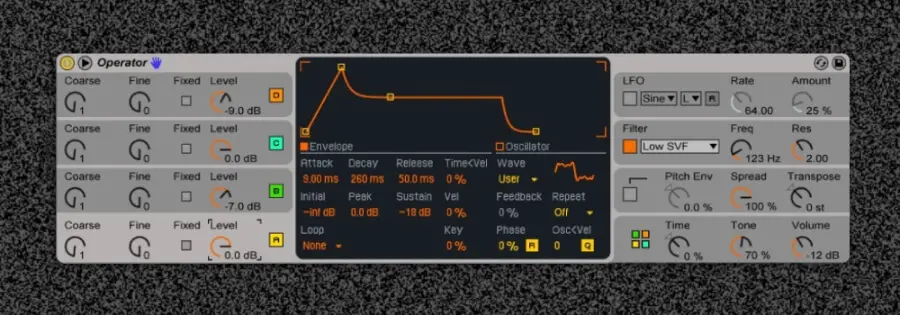
Once Operator has loaded into the detail view, select Oscillator A.
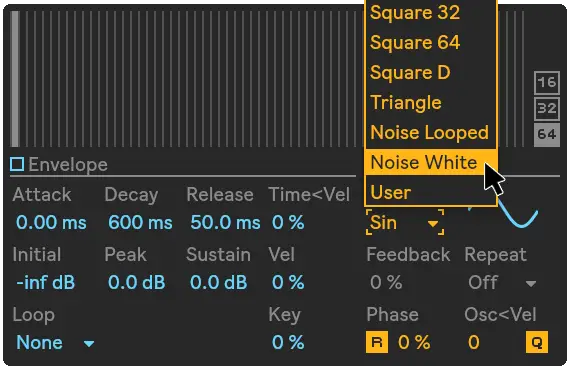
| Step 4: Select ‘Noise White’ Waveform
Lastly, select ‘Noise White’ from the ‘Wave’ drop-down box. You can now use a MIDI keyboard to generate white noise or draw patterns into the piano roll.
| How To Use The White Noise Patch
So you’ve created the white noise patch in Operator, now it’s time to insert white noise into your project.
Start by creating a MIDI clip. In the arrangement view, highlight the beats|bars where you would like to insert white noise. Right-click the highlighted region and select ‘Insert MIDI Clip(s)’. Alternatively, you can use the keyboard shortcut [COMMAND + Shift M] on Mac or [CNTRL + Shift + M] on Windows.
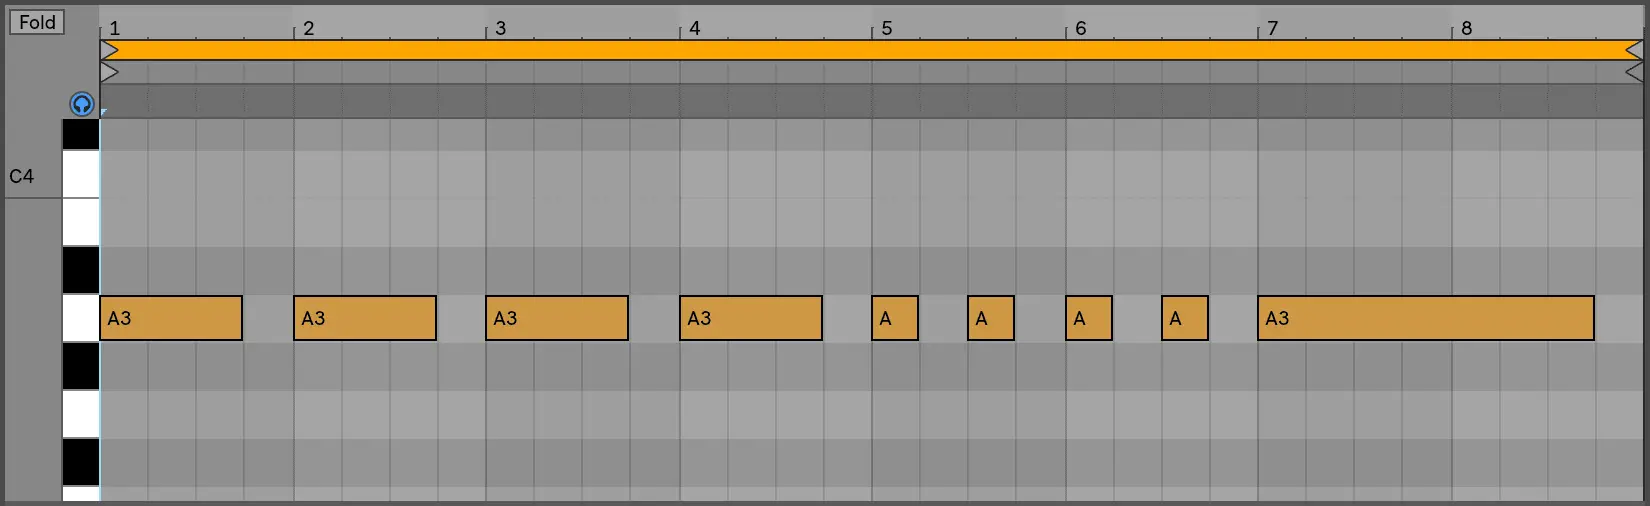
Double-click on the top part of your new MIDI clip to open the piano roll. Here is where you can pencil in the spots throughout your project where you would like white noise to playback. Enable draw mode by pressing ‘B’ on your keyboard, then simply draw MIDI notes into the piano roll.
You can shorten and lengthen MIDI notes by hovering over the beginning or end of a note, left-clicking, and dragging left or right.
Related Posts:
How To Sidechain In Ableton Live
Top 10 Artists That Use Ableton Live
30 Ableton Live Keyboard Shortcuts You Need To Know
Want To Know More?
Here at Live Aspects, we have dozens of useful lessons and tutorials created to enhance your music production skills and help speed up the learning process. You can access our huge range of music theory lessons and production tips and tricks here.