Zooming in and out of Ableton Live is a great way to get closer to the details of your work, but it can also be a helpful way to navigate through large sections of a project. Learning how to zoom in and out of the various parts of the DAW will allow you to use Live as efficiently as possible.
From the piano roll to the arrangement view, this guide will show you how to zoom in and out of the many areas of Ableton Live and list the accompanying keyboard shortcuts.
Without further ado, let’s dive in!

Piano Roll
Piano Roll
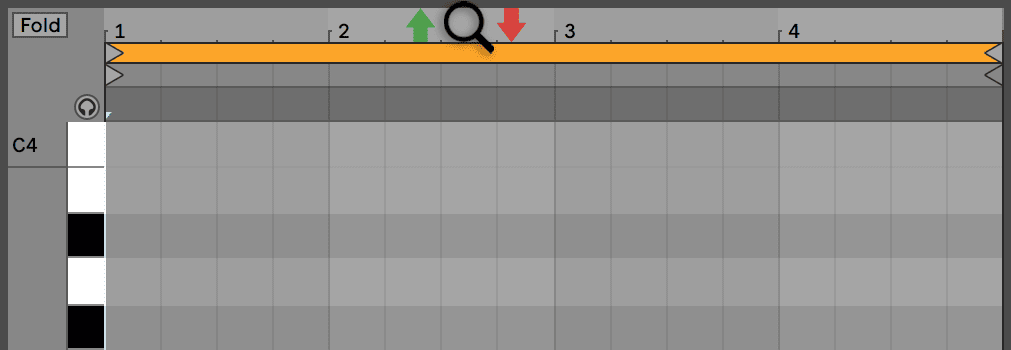
Method 1: To zoom in and out of the piano roll, place your cursor at the top border of the piano roll (where the beats|bars are stated), then hold down left-click and drag up or down.
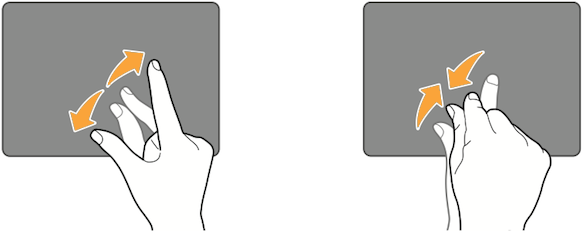
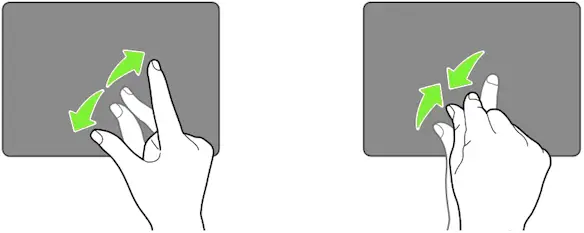
Method 2: If you’re using Ableton Live on a laptop, you can also use the touchpad to zoom in and out of the piano roll by first placing your cursor into the piano roll window, then taking two fingers and dragging them towards opposite corners of the touchpad.
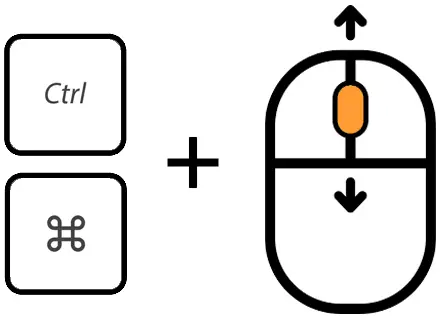
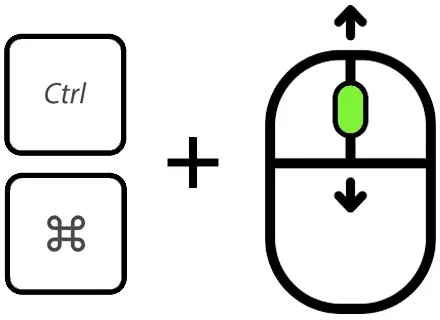
Method 3: You can also use your mouse to zoom in and out of the arrangement view. Simply hover your cursor over the arrangement view, then hold [CNTRL] on Windows or [COMMAND] on Mac and scroll up or down.
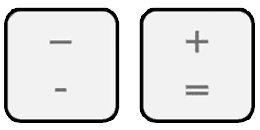
Method 4: You can use the [-] and [+] keys on your keyboard to gradually zoom in and out of the piano roll. Just make sure you have clicked any beat|bar inside the piano roll before doing so.
Piano Roll Keys
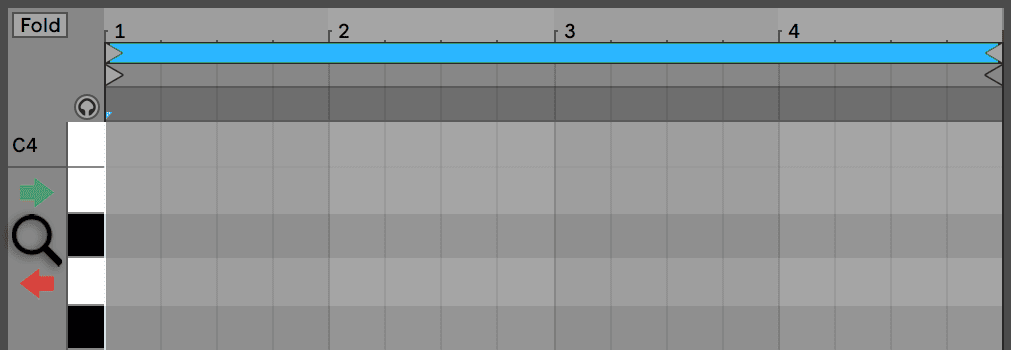
To zoom in and out of the keys in the piano roll, place your cursor to the left of the keys (note ruler), then hold down left-click and drag left or right.
Alternatively, you can double-click this spot to zoom a selection of notes into view or to fit the range of keys used in the MIDI clip.
Arrangement View
Method 1: To zoom in and out of the arrangement view, place your cursor at the top of the arrangement view (where the beats|bars are stated), then hold down left-click and drag up or down.

Method 2: If you’re using Ableton Live on a laptop, you can also use the touchpad to zoom in and out of the arrangement view by first hovering your cursor over the arrangement view, then taking two fingers and dragging them towards opposite corners of the touchpad.
Method 3: You can also use your mouse to zoom in and out of the arrangement view. Simply hover your cursor over the arrangement view, then hold [CNTRL] on Windows or [COMMAND] on Mac and scroll up or down.
Method 4: You can use the [-] and [+] keys on your keyboard to gradually zoom in and out of the arrangement view. Just make sure you have clicked inside the arrangement view before doing so.

Tracks
Method 1: To zoom in and out of tracks in the arrangement view, place your cursor at the bottom of a track’s name, then left-click and drag up or down to resize it.

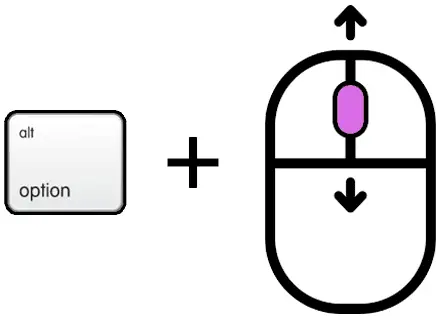
Method 2: You can also adjust the vertical height of tracks in the arrangement view by first placing your cursor over the target track, then holding [ALT] on Windows or [OPTION] on Mac and scrolling up or down.
You can adjust the vertical height of multiple tracks at once by first holding down [SHIFT] and left-click on a selection of tracks, then proceeding with either of the above methods.
Ableton Live GUI
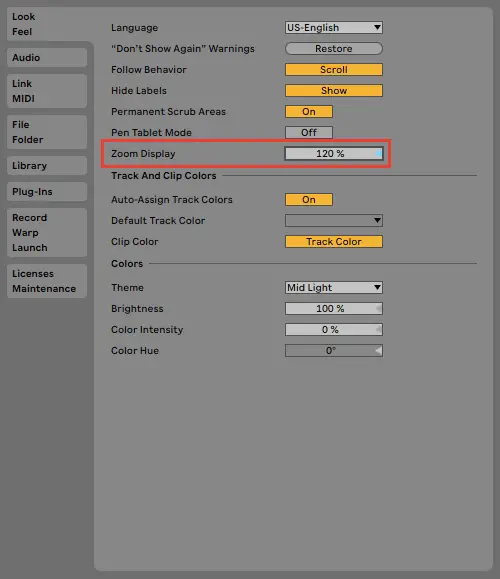
To adjust the zoom of the entire Ableton Live interface, head to the File (Windows)/Live (Mac) menu at the top of your screen and select ‘Preferences’. Under the ‘Look Feel’ tab, locate the box beside ‘Zoom Display’. Lastly, left-click and drag it up or down.
Related Posts:
How To Use Ableton Live | Top 100 FAQ
Ableton Live 101 | The Complete Beginner’s Guide
30 Ableton Live Keyboard Shortcuts You Need To Know
Want To Know More?
Here at Live Aspects, we have dozens of useful lessons and tutorials created to enhance your music production skills and help speed up the learning process. You can access our huge range of music theory lessons and production tips and tricks here.