When it comes to audio manipulation, Ableton Live stands as a powerful tool for producers, musicians, and DJ’s alike. One of its key features, known as warping, enables users to effortlessly adjust the timing and tempo of audio clips. But what exactly is warping in Ableton Live, and how can it enhance your music production process?
In this comprehensive guide, we’ll discuss the extensive features of Live’s warp functionality and explore its numerous benefits. Whether you’re combining different audio sources, creating remixes, or seeking a tighter rhythmic feel, warping in Ableton Live opens up a realm of possibilities.
Without further ado, let’s get started!
| Introduction
| What Is Warping In Ableton Live?
Warping refers to the process of using Ableton Live’s Warp function to manipulate the timing and tempo of an audio clip. Warping a sample in Ableton Live offers several benefits, including the ability to synchronize audio to a desired tempo, fine-tune the timing of specific sections within a sample, manually quantize audio, and alter the tempo of an audio clip without compromising its pitch.
By warping a sample, you can seamlessly align it with the tempo of your project, ensuring it stays in sync with the other elements of your track. This is particularly useful when combining different audio sources or when creating remixes.
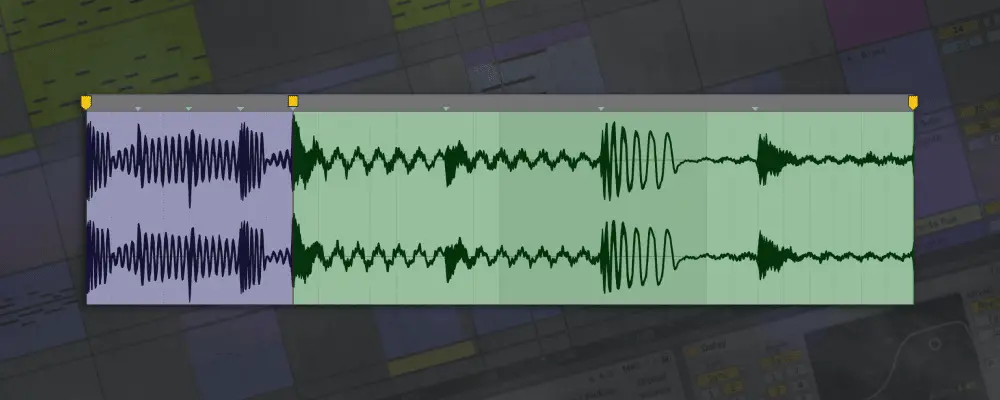
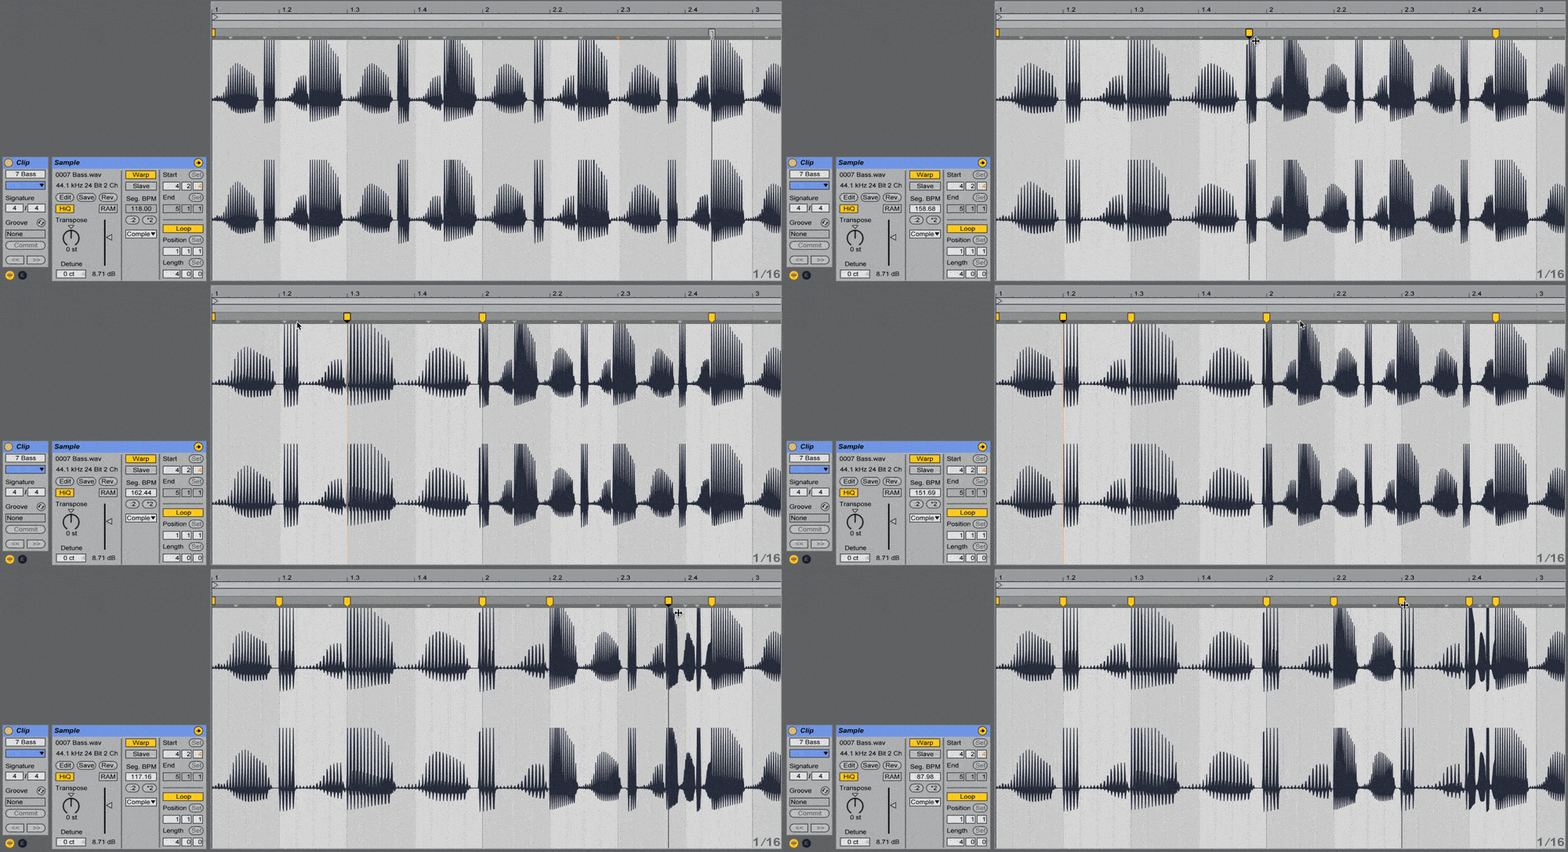
Additionally, the flexibility of warping allows for precise adjustments to the timing of individual sections within a sample (as seen in the GIF below). You can stretch or compress specific portions, align beats or transients more accurately, and achieve a tighter rhythmic feel.
Warping also enables manual quantization, ensuring that audio events fall precisely on the desired grid positions. This is beneficial for achieving a more controlled and polished sound.
Furthermore, one of the significant advantages of warping is the ability to change the tempo of an audio clip while preserving its original pitch. This feature is particularly useful when you want to experiment with different tempos or create tempo variations within your composition, without altering the pitch or tonality of the audio.
| How To Warp Audio
To warp an audio sample, first access the clip view by double-clicking on the upper portion of an audio clip from the Arrangement View or by double-clicking an audio clip from the Session View. Within the clip view, locate and click on the ‘Warp’ button located on the left side of the audio’s waveform.
Once enabled, the ‘Warp’ button will turn yellow. Upon activating warp mode, the sample will be time-stretched using warp markers and synced to the tempo of your project.
| Warp Modes
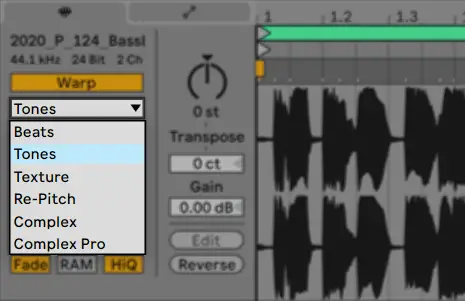
Live offers six time-stretching modes to accommodate different audio materials. When warping audio, choose a warp mode that best suits the characteristics of the audio sample.
• Beats Mode is best for rhythmic audio samples such as drum loops, beats or percussion
• Tones Mode is recommended for distinctly pitched audio such as vocals, bass-lines and other monophonic instruments
• Texture Mode works best for textured sounds without a distinct pitch such as noise, atmospheric pads and other polyphonic audio
• Re-Pitch Mode stretches audio by adjusting pitch, similar to a vinyl record. Adjusting the master tempo or Segment BPM will alter the pitch of any audio in Re-Pitch warp mode
• Complex Mode works best for audio with a lot of character such as entire songs or multi-layered audio
• Complex Pro Mode offers better sounding results than Complex Mode but requires more CPU load
| Warp Markers
Warp Markers are used to manually stretch locations of a sample and lock points of a sample to the grid. They allow you to create specific rhythm and timing changes to sections of a sample, correct timing errors and align audio to a specific grid. Warp markers are represented by small yellow icons above the sample editor in clip view.

By moving warp markers, you can stretch or compress specific sections of the audio clip, making it longer or shorter. By placing warp markers at specific points, you can manually adjust the timing of individual beats or transients to align them to the grid.
Warp markers can be moved to different positions on the grid by clicking and dragging or using the arrow keys on your keyboard. Holding [OPTION/ALT] while adjusting a warp marker will temporarily disable the grid, allowing you to position it more precisely.

Create & Delete Warp Markers
To create a warp marker, simply double-click on the waveform at the desired position or double-click one of the grey pseudo warp markers above the sample’s waveform.
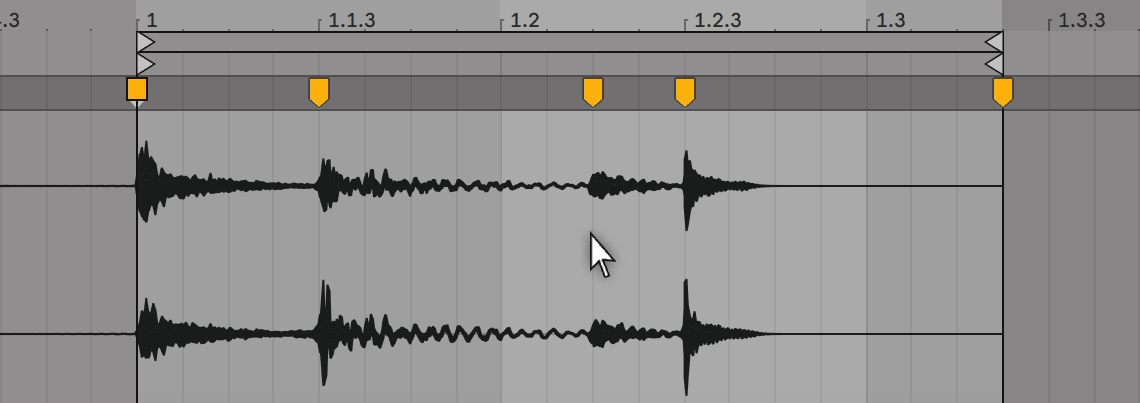
Alternatively, you can left-click a spot on the waveform and press [COMMAND/CNTRL] + [I] on your keyboard, or right-click and press ‘Insert Warp Marker(s)’.

To delete a warp marker, simply left-click on a marker and press [DELETE] on your keyboard. Alternatively, you can right-click a marker and select ‘Delete’.

Pseudo Warp Markers
When an audio sample is initially warped, pseudo warp markers are automatically inserted at each transient, serving as suggested positions for warp markers. Transients represent the starting points of notes or events within the audio. Double-clicking or dragging a pseudo warp marker will cause it to become an actual warp marker.

| Warp Functions
Seg. (Segment) BPM
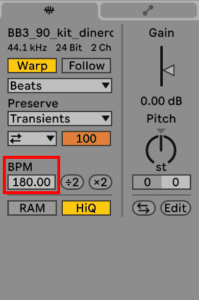
When an audio sample is warped, Live automatically estimates the original tempo of the sample in order to accurately sync it to the master tempo. This estimated tempo is called the Segment BPM. If Live has inaccurately warped your sample, simply type its original tempo into the ‘BPM’ box below the warp options.
Tempo Leader/Follower
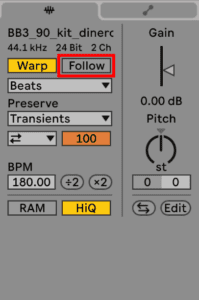
When set to Follower, the audio clip is warped so that it plays in sync with your project. This is the default behavior for all clips. On the other hand, when the Leader mode is chosen, the clip retains its original tempo (as if Warp was disabled), and your project’s tempo is adjusted to match the clip’s tempo.
Granulation Resolution
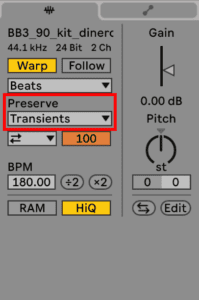
The Granulation Resolution chooser preserves divisions in the sample as boundaries when warping. For the most accurate results, choose Transients. If your goal is to preserve specific beat divisions, regardless of the sample’s content, opt for one of the fixed note values. By choosing larger note values, you can create intriguing rhythmic artifacts when combined with pitch transposition.
| Warp Preferences
Loop/Warp Short Samples
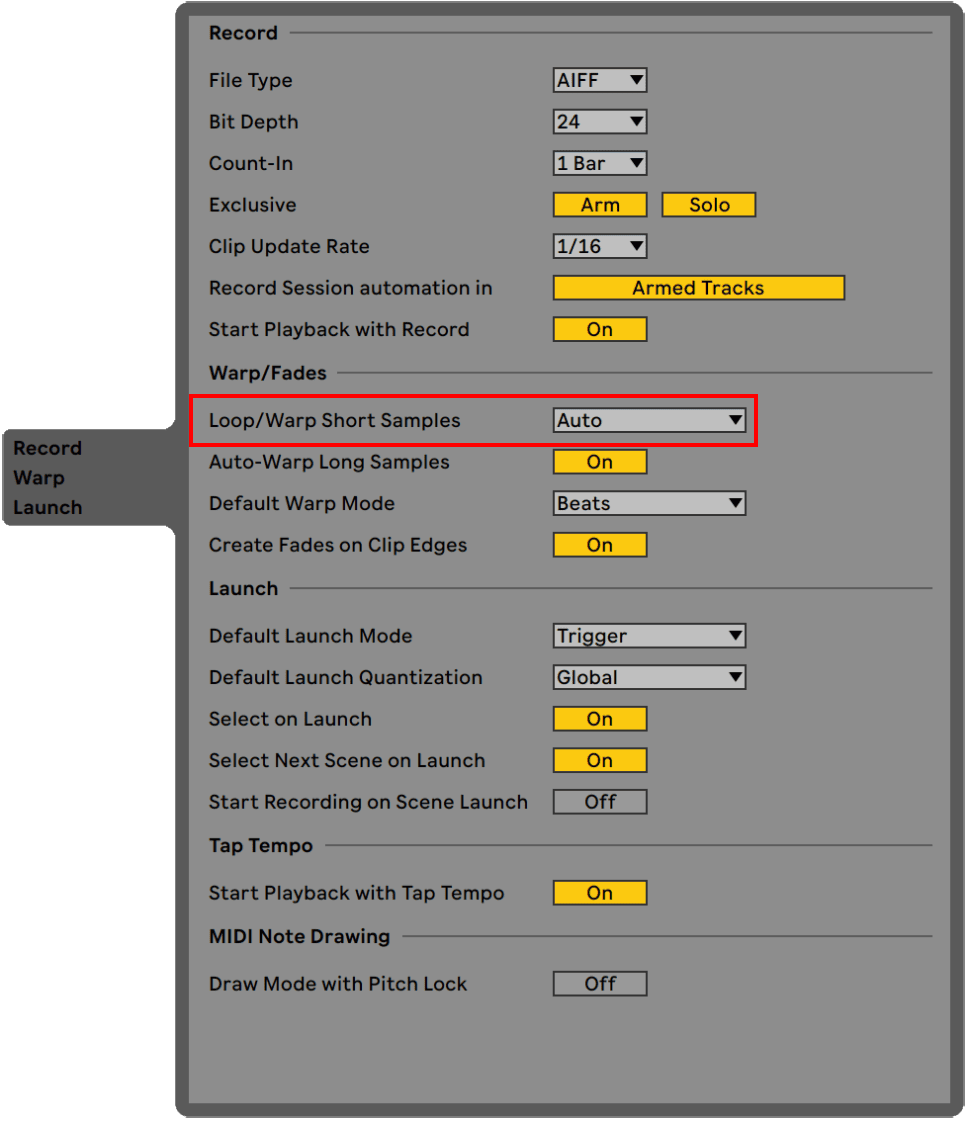
This preferences determines the default Loop and Warp properties of newly created or imported samples of short length. When ‘Auto’ is chosen, Live makes its own guess at which settings make the most sense for the sample.
Auto-Warp Long Samples
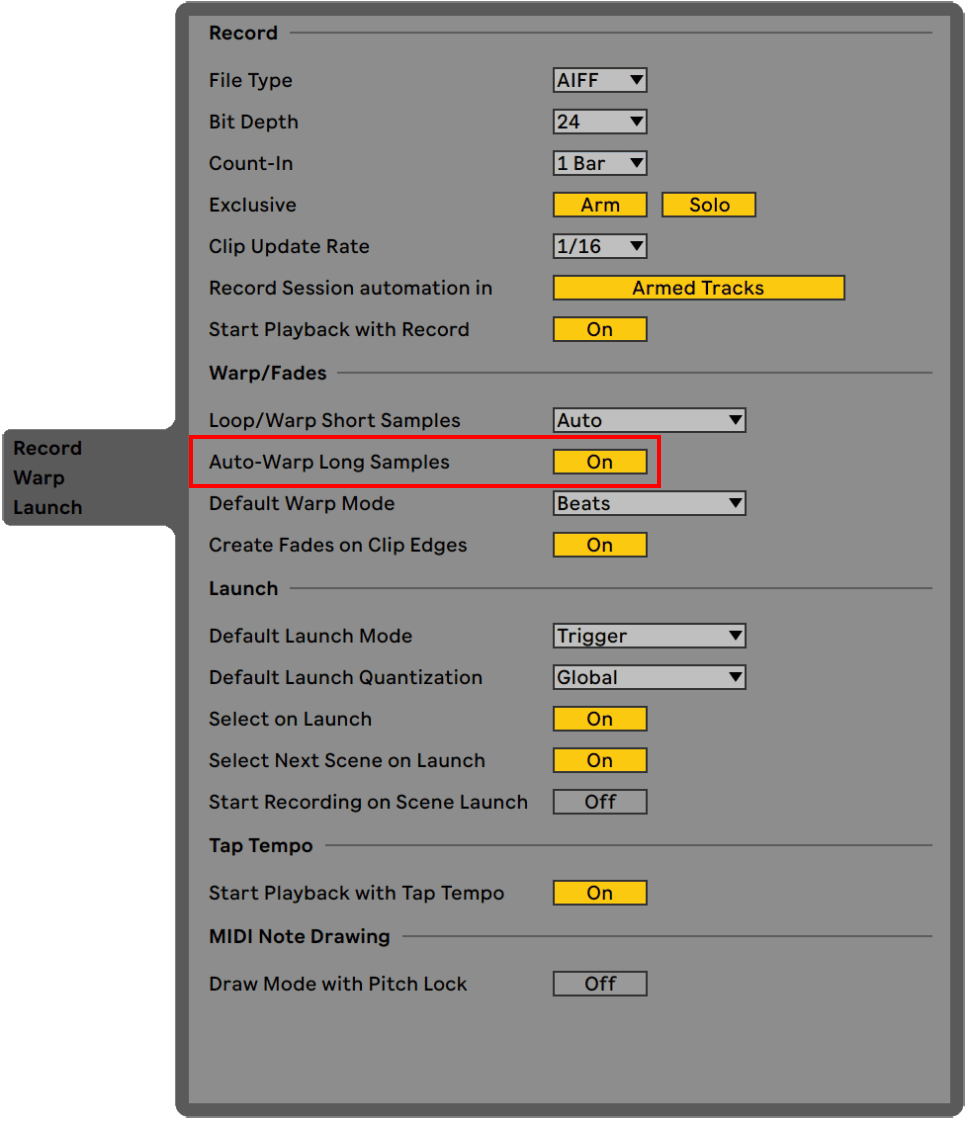
When this preferences is set to ‘On,’ Live will automatically warp newly-added long samples. In order for the auto-warp mechanism to function properly, files being imported into the program for the first time must undergo an initial analysis process. Consequently, these files will not be immediately accessible for playback or editing.
Default Warp Mode
This preference sets the default warp mode for all newly warped clips. You can change this setting for individual clips at any time by accessing the clip view settings, then locating the warp mode chooser in the clip’s sample box.
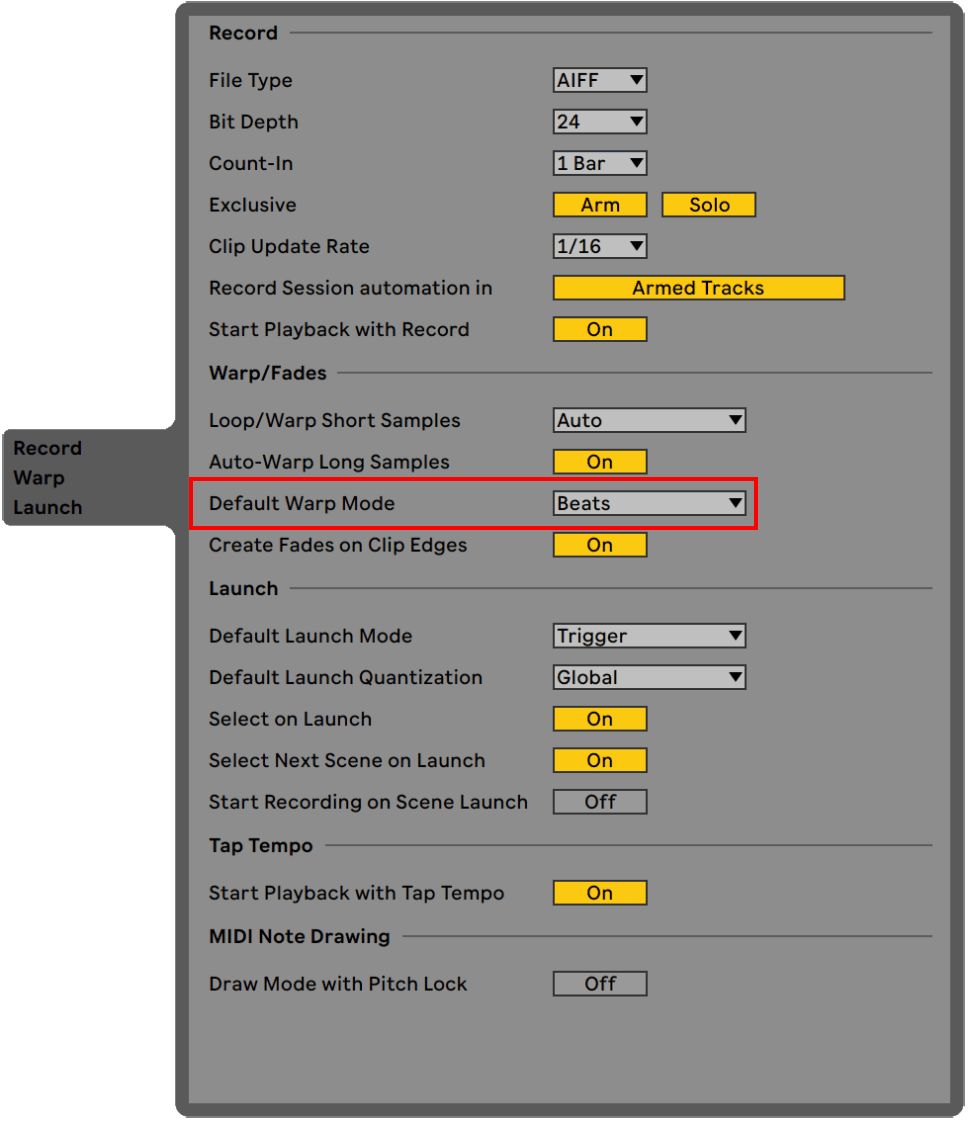
These three warp preferences can be adjusted by heading to Live’s Preferences and selecting the ‘Record Warp Launch’ tab.
Related Posts:
How To Edit Audio In Ableton Live
How To Beat Match In Ableton Live
Ableton Live 101 | The Complete Beginner’s Guide
Want To Know More?
Here at Live Aspects, we have dozens of useful lessons and tutorials created to enhance your music production skills and help speed up the learning process. You can access our huge range of music theory lessons and production tips and tricks here.

1 comment
I always prefer to read the quality content and this thing I found in you post. I am really thank full for you for this post.